
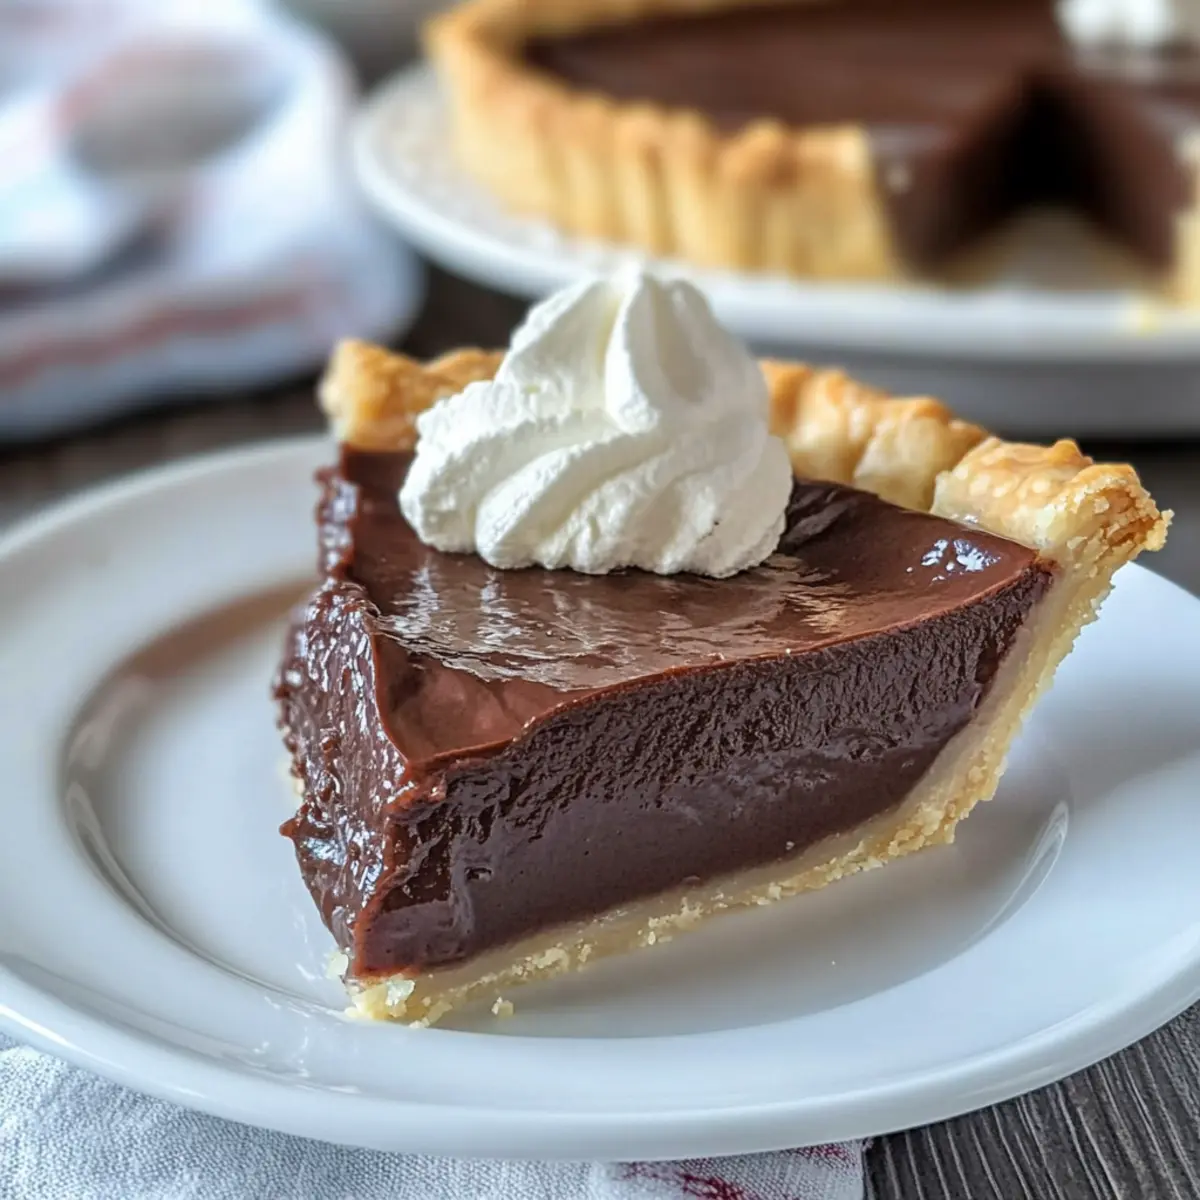
One evening, I was wiping flour off the counter, and a familiar craving hit—my grandmother’s Old Fashioned Chocolate Pie, the ultimate comfort dessert. This classic recipe has been a cherished indulgence in my family, bringing back memories of sweet laughter and happy gatherings. With its creamy texture and deep chocolate flavor, my Old Fashioned Chocolate Pie is not just an easy dessert made from scratch in about 20 minutes; it also makes for a show-stopping centerpiece at any meal. Imagine delighting your loved ones with a velvety slice, perfect for special occasions or just a well-deserved treat after a long day. Curious about how to recreate this nostalgic pie? Let’s dive into the recipe!
Why is This Pie So Irresistible?
Classic Comfort: This Old Fashioned Chocolate Pie is a nostalgic favorite that evokes memories of family gatherings and joyous celebrations.
Quick and Easy: Whip it up in just 20 minutes—perfect for when cravings strike unexpectedly!
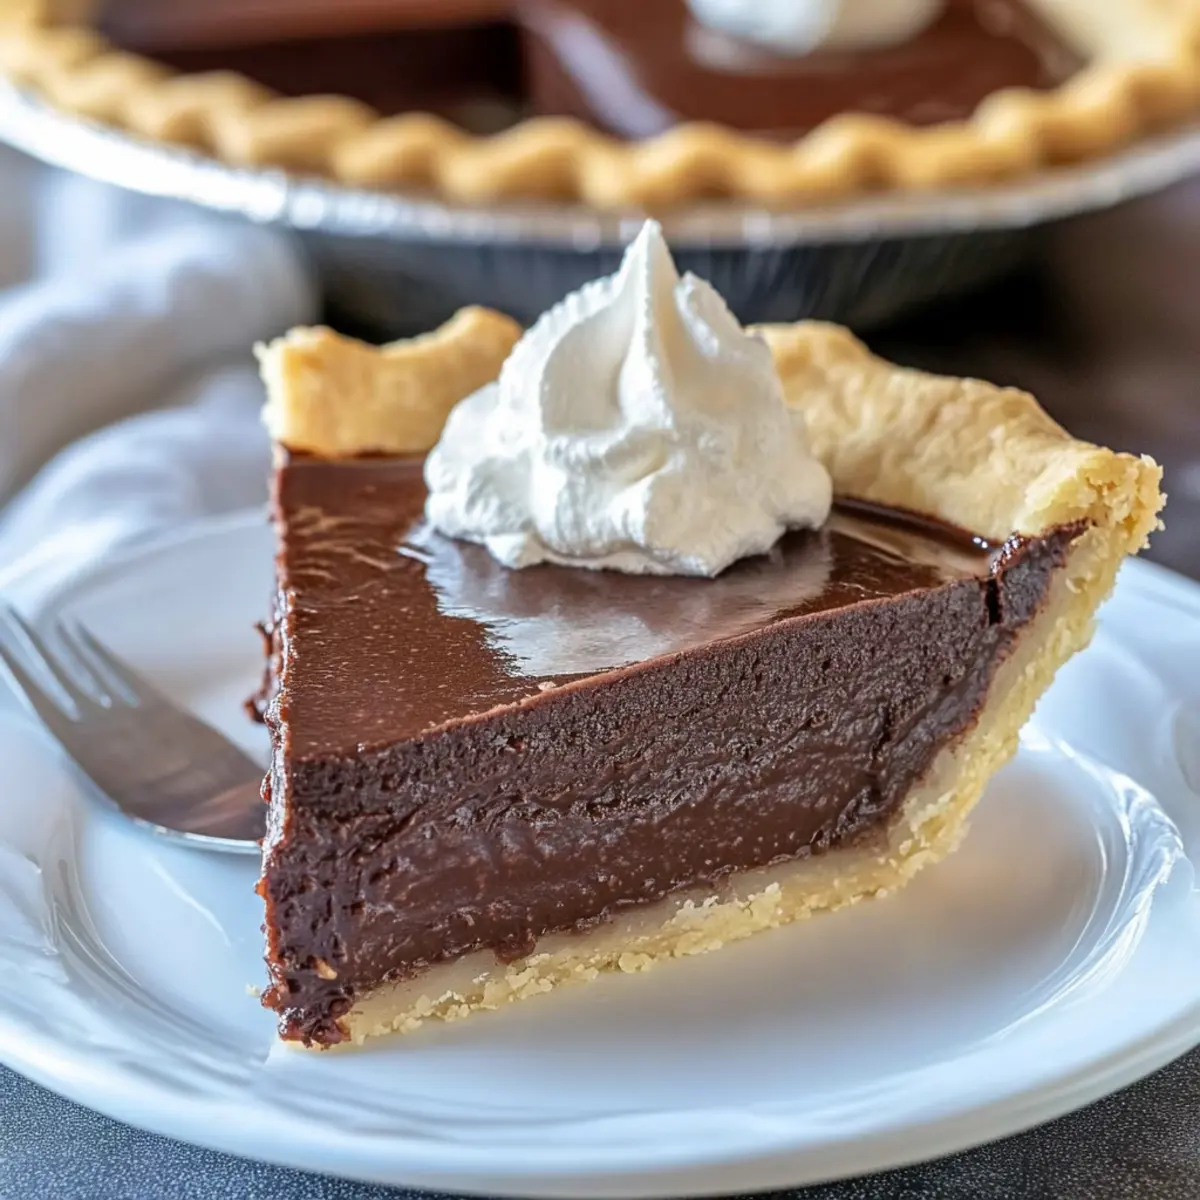
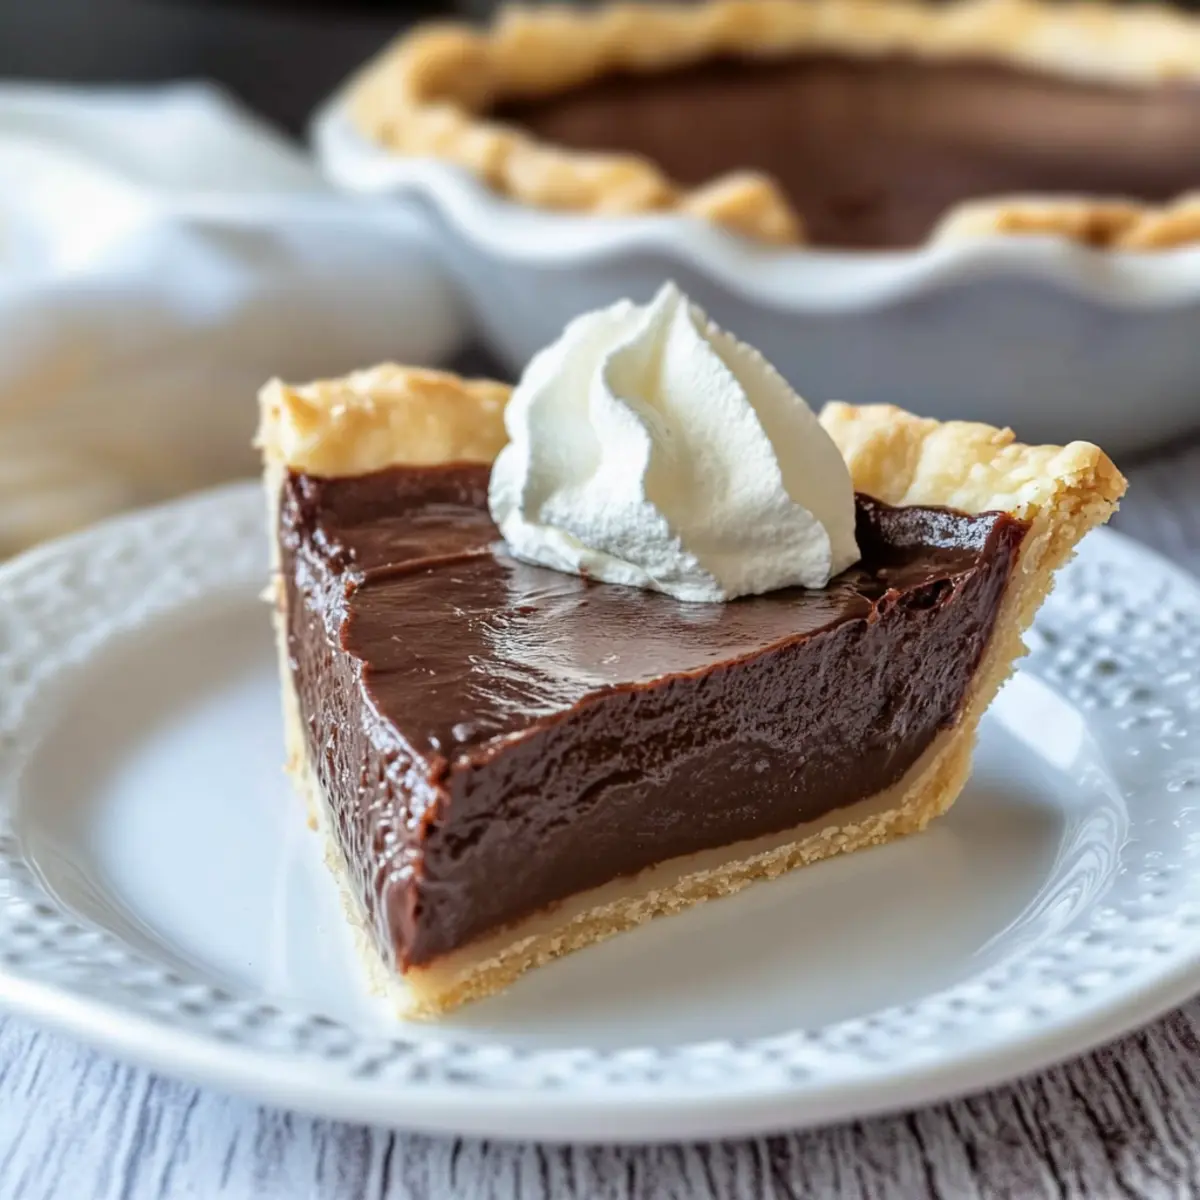
Decadent Texture: Experience a smooth, creamy filling that melts in your mouth, paired with a crisp pie crust, reminiscent of rich chocolate mousse.
Versatile Delight: Whether serving it chilled with whipped cream or experimenting with toppings like berries or nuts, it’s endlessly customizable.
Family Approved: This pie has a way of sparking joy and creating lasting memories—your loved ones will ask for seconds! If you want to explore more easy desserts, check out my Chocolate Overnight Oats for a quick and tasty breakfast idea.
Old Fashioned Chocolate Pie Ingredients
For the Filling
- All-Purpose Flour – Provides structure to the pie filling, ensuring it doesn’t become too runny.
- Cocoa Powder – Adds rich chocolate flavor; opt for high-quality cocoa for the best taste.
- Granulated Sugar – Sweetens the filling and balances the cocoa’s bitterness, creating a delightful dessert.
- Egg Yolks – Acts as a thickening agent, contributing to the creamy texture of this old fashioned chocolate pie.
- Milk – Creates the creamy base; whole or 2% milk works best for a luscious filling.
- Vanilla Extract – Enhances the chocolate flavor; while optional, it’s highly recommended for added richness.
For the Pie Crust
- Pre-made Pie Crust – A time-saver option; feel free to use a frozen or refrigerated crust for convenience.
- Homemade Pie Crust (optional) – If you’re feeling adventurous, making your crust from scratch adds a personal touch!
Optional Toppings
- Whipped Cream – A classic pairing that adds a light and airy contrast to the dense filling.
- Meringue – Makes for an elegant topping; use reserved egg whites for a fluffy finish.
- Chocolate Shavings – Sprinkle on top for a touch of decadence and a beautiful presentation.
- Fresh Fruit (e.g., Raspberries) – Adds a vibrant twist and balances the rich chocolate flavor.
Step‑by‑Step Instructions for Old Fashioned Chocolate Pie
Step 1: Prepare the Pie Crust
Begin by preheating your oven to 375°F (190°C) if using a homemade pie crust. Roll out the dough and place it into a 9-inch pie pan, crimping the edges nicely. If using a pre-made pie crust, simply remove it from the packaging. Blind bake the crust for about 10-12 minutes or until lightly golden. Allow the crust to cool while you prepare the filling.
Step 2: Mix the Dry Ingredients
In a medium mixing bowl, sift together 1/3 cup of all-purpose flour, 2/3 cup of unsweetened cocoa powder, and 1 cup of granulated sugar. This process adds air and ensures a smooth filling. Stir the dry ingredients gently with a whisk until they are well combined, creating a uniform mixture that will form the base of your Old Fashioned Chocolate Pie.
Step 3: Incorporate the Egg Yolks
Add 3 large egg yolks to the dry ingredient mixture and blend until smooth. Use a fork or whisk to thoroughly combine the eggs with the dry mix. This step will help the filling achieve its creamy texture. Make sure there are no lumps, and set the mixture aside as you prepare to add the milk.
Step 4: Add the Milk
Gradually pour in 2 cups of whole or 2% milk into the mixture while whisking continuously. This ensures everything combines evenly, leading to a luscious filling. Keep whisking until the mixture is smooth, and visible streaks of milk disappear, creating an enticing chocolate batter ready for cooking.
Step 5: Cook the Filling
Transfer the mixture to a medium saucepan over medium heat. Stir continuously with a wooden spoon or whisk, as you cook the filling for about 5-10 minutes. You’ll know it’s ready when it thickens significantly, achieving a pudding-like consistency. Be careful to avoid letting it boil; you want a gentle simmer for a smooth finish.
Step 6: Add Vanilla Extract
Once thickened, remove the saucepan from the heat and stir in 1 teaspoon of vanilla extract. This adds depth and enhances the chocolate flavor of your Old Fashioned Chocolate Pie. Ensure the vanilla is fully incorporated into the warm filling, which should now gleam with a rich, glossy appearance.
Step 7: Pour into the Crust
Carefully transfer the thick chocolate filling into your baked pie crust. Use a spatula to smooth the top, ensuring an even layer. The filling should be rich and glossy, filling every corner of the crust. Allow the pie to cool on the counter for a bit before moving it to the refrigerator.
Step 8: Chill the Pie
Chill your Old Fashioned Chocolate Pie in the refrigerator for at least 1 hour, or up to 24 hours. This sets the filling to achieve that perfect slice. It should be firmly set yet creamy to the touch once chilled, tantalizing anyone lucky enough to indulge in it.
Step 9: Serve with Toppings
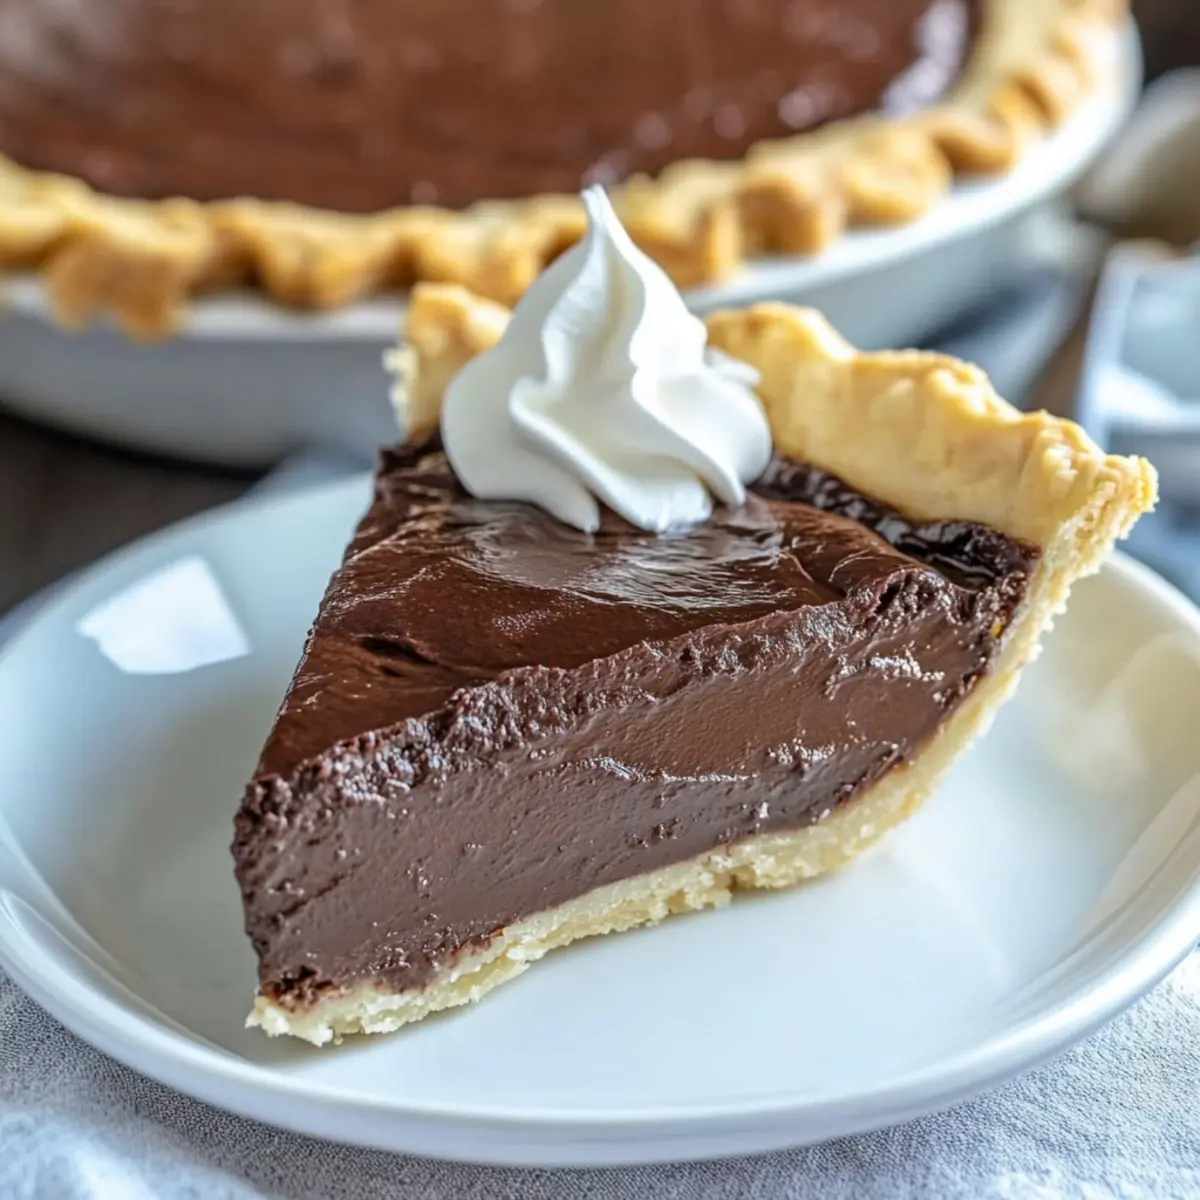
Before serving, add your choice of toppings like whipped cream or chocolate shavings for an extra touch of elegance. Slice the pie and present it beautifully, ensuring each slice shows off the luscious filling nestled in the crust. This delightful Old Fashioned Chocolate Pie is now ready to be enjoyed by family and friends!
Expert Tips for Old Fashioned Chocolate Pie
-
Continuous Stirring: Always stir the filling while cooking to prevent lumps and achieve that smooth, creamy texture you desire in your Old Fashioned Chocolate Pie.
-
Perfect Thickness: If you prefer a thicker filling, let the mixture cook for an extra minute or two, but keep a close eye to prevent burning.
-
Optimal Chilling Time: Chill the pie for at least 1 hour to allow it to set properly; if you have time, chilling overnight will enhance the flavor and texture even more.
-
Whipped Cream Optional: For a delightful touch, top your pie with whipped cream or chocolate shavings just before serving, making for a beautiful presentation.
-
Meringue Magic: Enhance your pie by adding a fluffy meringue topping made from the reserved egg whites, giving it an elegant, homemade finish.
How to Store and Freeze Old Fashioned Chocolate Pie
Fridge: Store your Old Fashioned Chocolate Pie in the refrigerator for up to 3 days, covered with plastic wrap or in an airtight container to maintain freshness.
Freezer: If you want to freeze the pie, wrap it tightly in plastic wrap and then in aluminum foil. It can be kept in the freezer for up to 2 months.
Thawing: To enjoy, thaw the pie in the fridge overnight before serving. This helps to retain its creamy texture and rich flavor.
Reheating: Generally, this pie is best enjoyed chilled, but if you prefer it slightly warmed, you can microwave a slice for about 15-20 seconds on low power.
Make Ahead Options
These Old Fashioned Chocolate Pie is perfect for busy cooks looking to save time during the week! You can prepare the chocolate filling up to 24 hours ahead of time. Simply cook the filling according to the recipe instructions, allow it to cool to room temperature, and then pour it into the baked pie crust. Cover the pie tightly with plastic wrap to prevent any odors from the fridge and maintain its creamy texture. When you’re ready to serve, chill it in the refrigerator for at least an hour. This way, you’ll have an indulgent, made-from-scratch dessert waiting for you with minimal effort on the day!
What to Serve with Old Fashioned Chocolate Pie
Elevate your dessert experience by exploring delightful pairings that perfectly complement this rich and creamy classic.
-
Whipped Cream: A dollop of light, airy whipped cream balances the dense filling and adds a touch of sweetness. The contrast in texture makes each bite an indulgent treat.
-
Fresh Berries: Adding fresh raspberries or strawberries introduces a burst of tartness, creating a wonderful flavor harmony with the rich chocolate. Their bright colors also enhance the pie’s visual appeal.
-
Vanilla Ice Cream: Rich, creamy vanilla ice cream melts into the pie’s warm chocolate filling, bringing extra creaminess and a delightful temperature contrast with each slice. This classic combination is always a crowd-pleaser.
-
Chocolate Shavings: Sprinkling chocolate shavings over the pie adds an extra chocolatey kick and visual elegance. This simple touch elevates the dessert into a restaurant-worthy delight.
-
Meringue Topping: If you’re yearning for something fancy, a fluffy meringue made with reserved egg whites can be torch-topped for an elegant finish. Its airy texture offers a stunning contrast against the rich filling.
-
Espresso Coffee: Serve your slice with a cup of rich espresso to enhance the chocolate flavor. The boldness of coffee perfectly balances the sweetness and adds a sophisticated touch.
-
Nut Toppings: Toasted pecans or walnuts provide a crunchy contrast to the smooth pie. Their nutty flavor pairs wonderfully with chocolate, offering an additional layer of richness.
-
Sparkling Dessert Wine: For a special occasion, consider a sweet sparkling dessert wine. The bubbles and sweetness cut through the chocolate richness, making for an elegant pairing.
-
Creme Fraiche: A spoonful of tangy creme fraiche adds a unique twist, with its slight acidity beautifully balancing the pie’s sweetness. It’s a simple yet sophisticated addition that will impress guests.
-
Chilled Fruit Salad: A light, refreshing fruit salad can cleanse the palate between bites of decadent pie, providing a bright and vibrant contrast that feels celebratory.
Old Fashioned Chocolate Pie Variations
Feel free to put your own spin on this classic chocolate pie—these delightful variations can elevate your dessert to new heights!
-
Richness Boost: Add 1 tablespoon of espresso powder to deepen the chocolate flavor and amplify its richness.
-
Graham Cracker Crust: Swap the traditional pie crust with a graham cracker crust for a lovely taste contrast and easier slicing.
-
Fruity Twist: Mix in fresh raspberries or a layer of sliced bananas for a refreshing contrast to the rich chocolate.
-
Nutty Crunch: Top the pie with toasted pecans or walnuts for a delightful crunch that complements the creamy filling perfectly.
-
Meringue Magic: Use the reserved egg whites to make a light, fluffy meringue topping—it’s a showstopper that adds elegance!
-
Chocolate Lovers’ Dream: Stir in chocolate chips to the filling right before pouring it into the crust for an extra decadent experience.
-
Dairy-Free Delight: Substitute coconut milk or a favorite plant-based milk for a creamy, dairy-free version everyone can enjoy.
-
Spicy Surprise: Sprinkle in a pinch of cayenne pepper for a hint of heat that surprises and delights with each bite.
Each of these variations creates a unique dessert experience that will have your loved ones requesting your Old Fashioned Chocolate Pie time and time again! If you’re feeling extra adventurous, try pairing this pie with my Cheeseburger Pie Cozy for an unexpected twist at your next gathering.
Old Fashioned Chocolate Pie Recipe FAQs
How do I select the right cocoa powder for this pie?
Absolutely! For the best flavor in your Old Fashioned Chocolate Pie, opt for high-quality unsweetened cocoa powder. Look for brands that are labeled “Dutch-processed” for a smoother and richer chocolate taste, which will enhance the overall depth of your dessert. Avoid cheap, overly sweet cocoa as it may alter the intended flavor profile of your pie.
What’s the best way to store leftover chocolate pie?
Very! After you’ve enjoyed your delicious slice, store any leftover Old Fashioned Chocolate Pie in the refrigerator, covered with plastic wrap or inside an airtight container. It will keep fresh and tasty for up to 3 days. Make sure to prevent any air exposure to maintain its creamy texture and rich flavors.
Can I freeze this pie, and how do I do it?
Certainly! To freeze your Old Fashioned Chocolate Pie, first ensure it is completely cooled. Wrap it tightly in plastic wrap, making sure there are no gaps. Then, cover it with aluminum foil for extra protection. This way, it can be stored in the freezer for up to 2 months. When you’re ready to enjoy it again, simply thaw it in the fridge overnight, allowing it to regain its creamy consistency before serving.
What if my filling doesn’t thicken?
Oh no, that can be frustrating! If your filling doesn’t thicken, it might need a bit more time on the heat. Return it to the stove over medium heat and continue stirring constantly until it thickens, which should take another minute or two. Remember, avoid boiling, as this can cause lumps. If all else fails, you can whisk a cornstarch slurry (1 tablespoon cornstarch mixed with 2 tablespoons cold milk) into the filling while simmering to help it set.
Are there any dietary considerations I should be aware of?
Yes! If you’re preparing this Old Fashioned Chocolate Pie for someone with allergies, be cautious about the ingredients. This recipe contains eggs and dairy, which are common allergens. For a dairy-free option, consider substituting almond or oat milk, and using egg substitutes like flax eggs to achieve similar results without compromising creaminess. Always check with your guests to ensure it’s a safe dessert for everyone!
Delightful Old Fashioned Chocolate Pie That Melts in Your Mouth
Ingredients
Equipment
Method
- Preheat your oven to 375°F (190°C). Prepare your pie crust by rolling out the dough and placing it in a 9-inch pie pan, crimping the edges. Blind bake for 10-12 minutes until golden.
- In a medium bowl, sift together 1/3 cup flour, 2/3 cup cocoa, and 1 cup sugar. Whisk until combined.
- Incorporate 3 large egg yolks into the dry mixture, blending until smooth.
- Gradually stir in 2 cups of milk while whisking. Continue until the mixture is smooth with no visible streaks.
- Cook over medium heat, stirring continuously for 5-10 minutes until thickened and pudding-like. Avoid boiling.
- Remove from heat and stir in 1 teaspoon of vanilla extract until fully incorporated.
- Pour the chocolate filling into the baked pie crust, smoothing the top evenly. Let it cool.
- Chill the pie in the refrigerator for at least 1 hour before serving to set.
- Serve with optional toppings like whipped cream or chocolate shavings, slicing to show the luscious filling.
Leave a Reply