
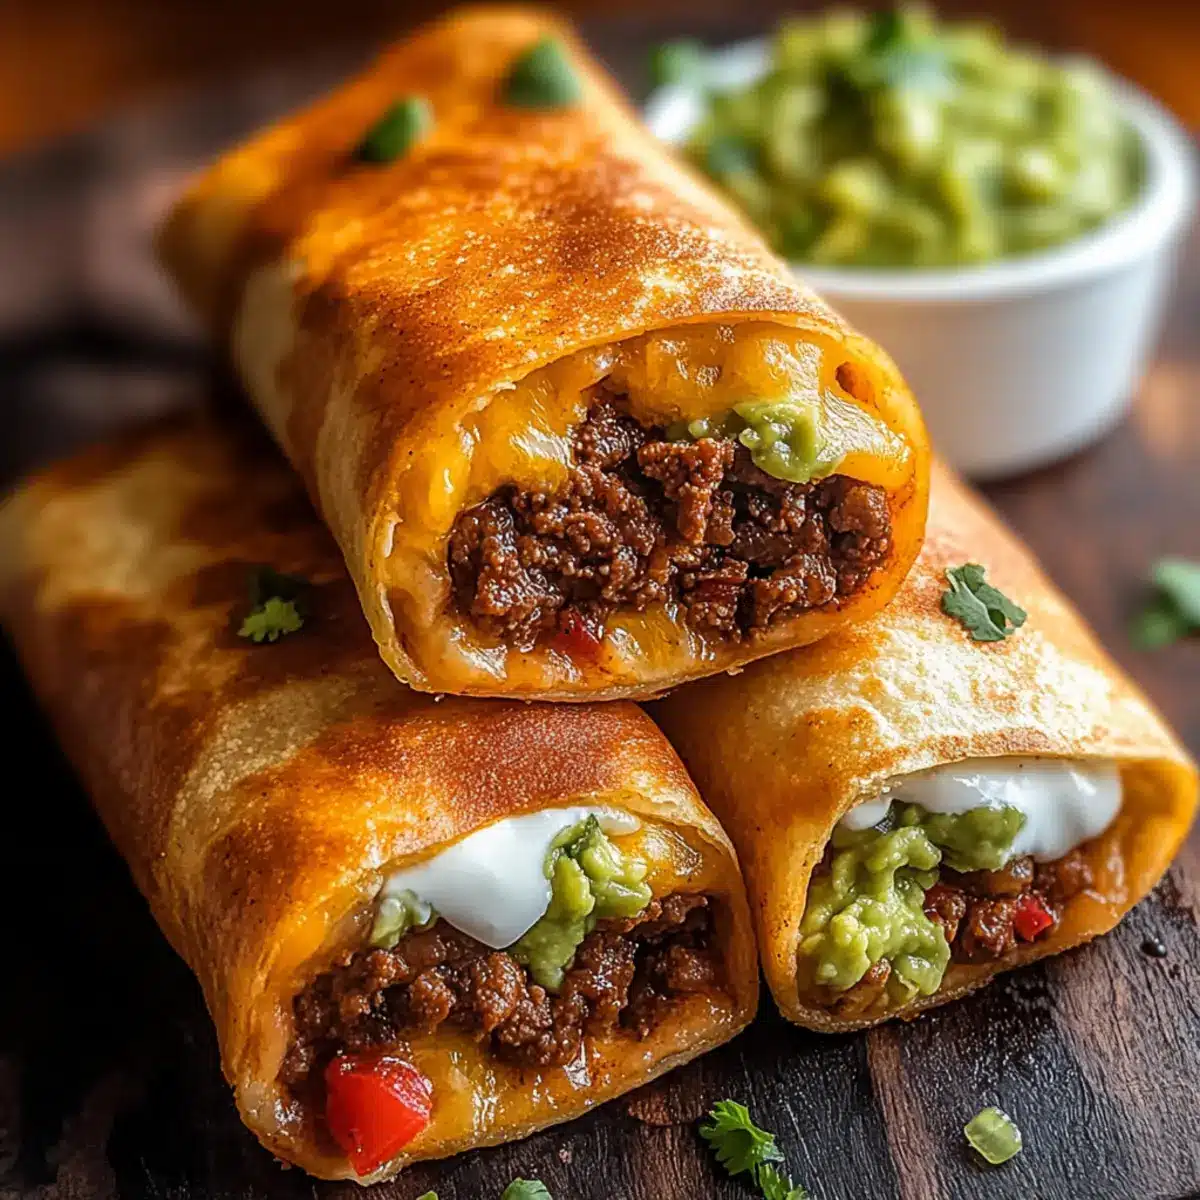
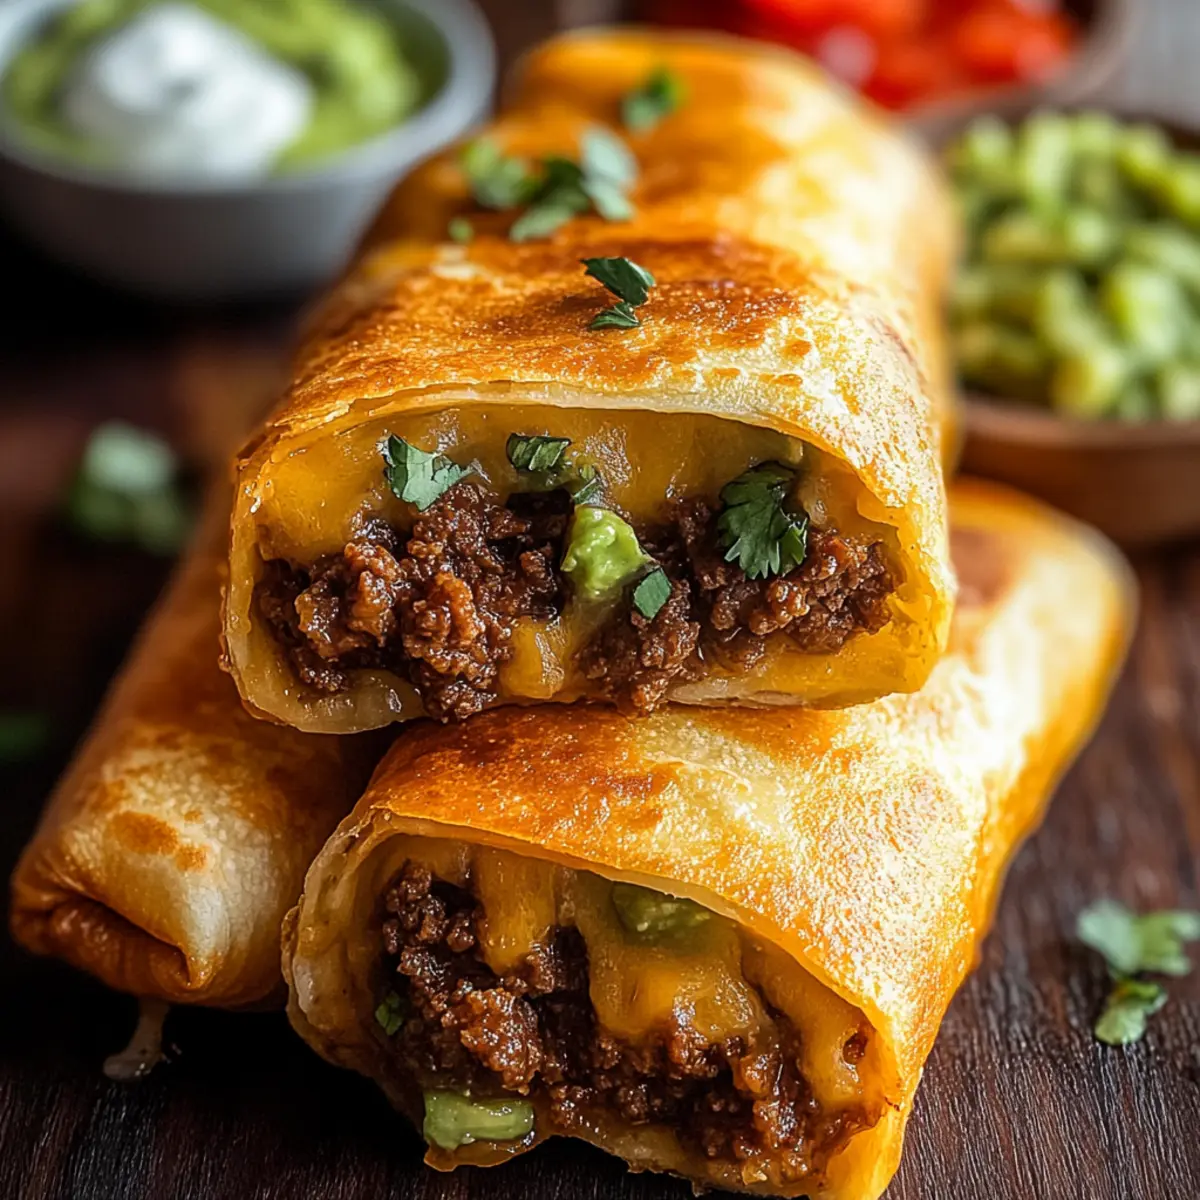
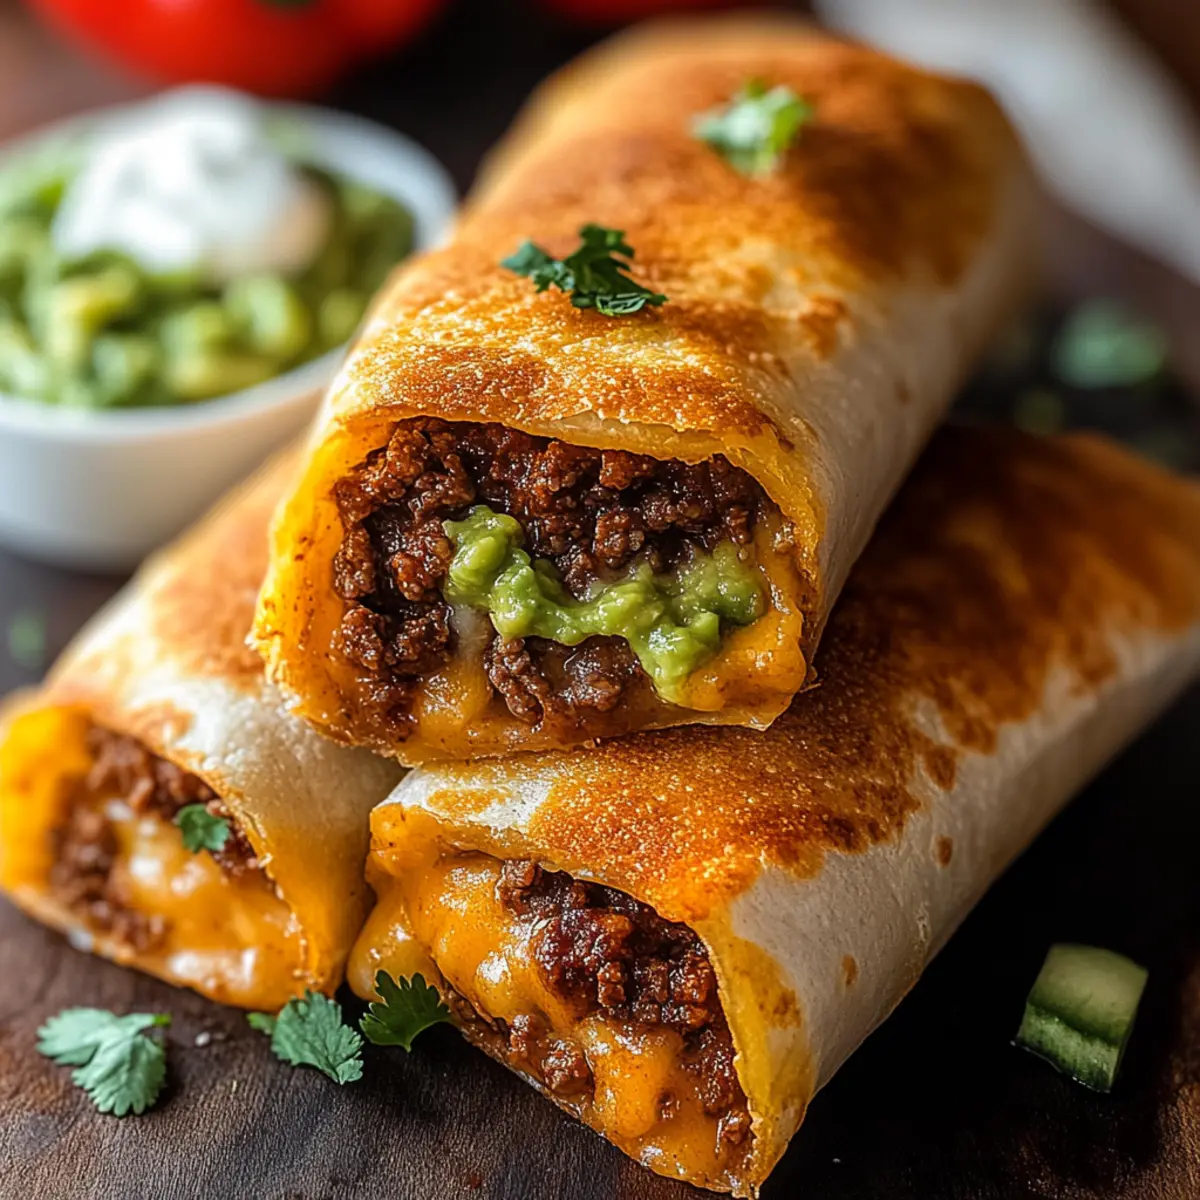
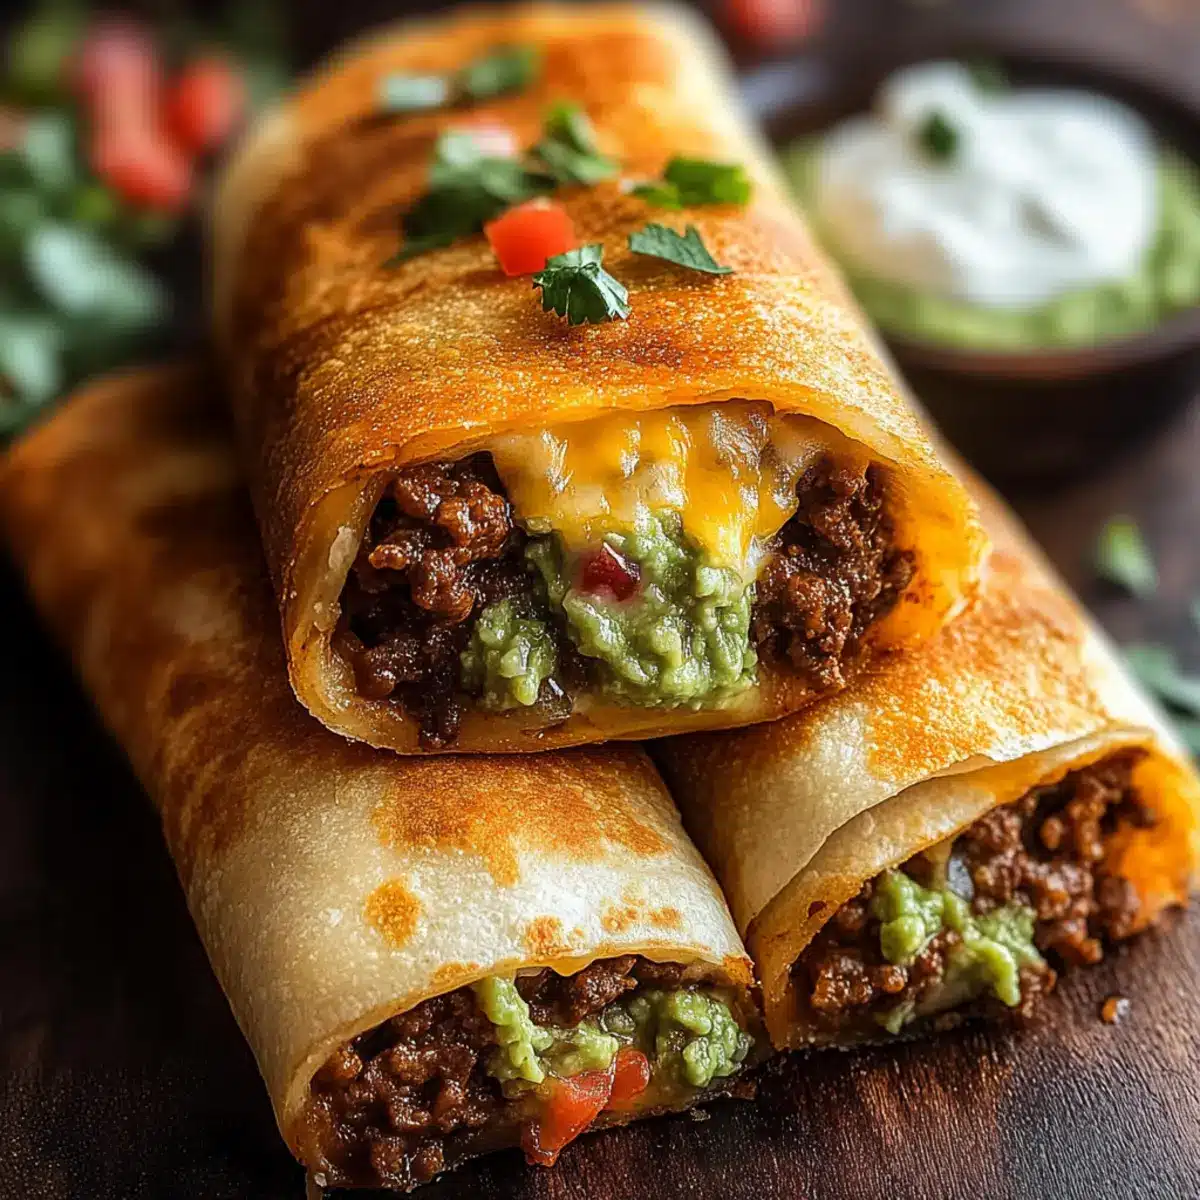
As I was flipping through my recipe book, a familiar craving hit me—those golden, crispy Beef and Cheese Chimichangas that make weeknight dinners feel like a fiesta! These Tex-Mex treasures are the ultimate comfort food: quick to prepare and fully customizable to suit every palate. Whether you choose to fry them for that satisfying crunch or bake for a healthier alternative, each bite is a delightful mix of savory seasoned beef and gooey cheese, perfect for everyone from picky eaters to culinary adventurers. And the best part? They’re freezer-friendly, making them an ideal make-ahead option for busy days. Ready to bring a taste of Mexico into your kitchen? Let’s get rolling!
Why Are Chimichangas So Irresistible?
Crispy Texture: There’s nothing like the satisfying crunch of a perfectly fried chimichanga, balanced beautifully with a gooey interior.
Flavor Explosion: Each bite bursts with savory beef, aromatic spices, and melted cheese that keep you coming back for more.
Customizable: Tailor the filling to your taste, whether it’s adding jalapeños for heat or switching to black beans for a vegetarian twist.
Kid-Friendly: These chimichangas are sure to please the whole family—great for picky eaters and adventurous palates alike!
Meal Prep Magic: Freeze them for busy weeknights, so you can enjoy a delicious homemade meal without the hassle. Discover more delightful recipes like these Cheesy Ground Beef or Fresh Guacamole to serve alongside your chimichangas!
Beef and Cheese Chimichanga Ingredients
For the Filling
- Ground Beef – The main protein providing rich flavor; substitute with shredded chicken or ground turkey for lighter options.
- Onion – Adds depth to the filling; if fresh is unavailable, onion powder is a suitable substitute.
- Garlic – Enhances the savory notes; garlic powder can be used in place of fresh garlic.
- Taco Seasoning – Delivers essential Tex-Mex spice; feel free to create a homemade blend for a personalized flavor.
- Salsa – Keeps the filling moist and flavorful; can be swapped with tomato sauce for a different twist.
- Refried Beans – Contributes creaminess and substance; you can omit or use black beans for a lighter option.
- Shredded Cheese – Creates a gooey, melty texture; options include cheddar, Monterey Jack, or a Mexican blend.
For the Tortillas
- Flour Tortillas – Used to wrap the filling; aim for larger (10-inch) tortillas for easy handling. Opt for whole wheat for a healthier choice.
For Cooking
- Vegetable Oil – Essential for frying or brushing; olive oil or melted butter works as a substitute.
Dive into these Beef and Cheese Chimichangas and savor the warmth of homemade comfort food! 🌶️
Step‑by‑Step Instructions for Beef and Cheese Chimichangas
Step 1: Prepare the Filling
In a large skillet, brown 1 pound of ground beef and 1 diced onion over medium heat for about 5-7 minutes until the meat is no longer pink and the onion is translucent. Drain excess fat, then stir in 2 minced garlic cloves, 2 tablespoons taco seasoning, and ½ cup salsa. Simmer for 3-5 minutes until the mixture thickens slightly, then remove from heat to cool.
Step 2: Assemble Chimichangas
Lay out 4 large flour tortillas on a clean surface. Spread a thin layer of refried beans or black beans on each tortilla, then spoon about ¼ of the beef filling and a generous handful of shredded cheese (like cheddar or Monterey Jack) onto the center. Fold in the sides of each tortilla and roll tightly, resembling a burrito, ensuring the filling stays secure.
Step 3: Choose Your Cooking Method
For a crispy fried version, heat vegetable oil in a deep skillet over medium-high heat until it reaches 350°F (175°C). Place the chimichangas seam-side down into the hot oil, frying them for 2-3 minutes on each side until golden and crispy. Alternatively, for a healthier baked option, preheat your oven to 400°F (200°C), place chimichangas seam-side down on a greased baking sheet, brush with oil, and bake for 20-25 minutes until crispy.
Step 4: Serve and Enjoy
Once cooked, let your Beef and Cheese Chimichangas rest for a couple of minutes to set the filling. Serve them warm, garnished with your favorite toppings like sour cream, guacamole, or salsa. This dish is perfect for sharing with family or friends, adding a festive touch to any meal!
Storage Tips for Beef and Cheese Chimichangas
Fridge: Store leftover beef and cheese chimichangas in an airtight container for up to 3 days; reheat in an oven or air fryer to keep them crispy.
Freezer: Freeze uncooked chimichangas for up to 2 months; simply cook from frozen, adding a few extra minutes to the baking time for best results.
Wrap: To prevent freezer burn, wrap each chimichanga tightly in plastic wrap or foil before placing them in a freezer bag.
Reheating: For optimal texture, reheat in the oven at 375°F (190°C) for 15-20 minutes, or until heated through and crispy again.
What to Serve with Beef and Cheese Chimichangas
Dive into a world of vibrant flavors and textures that perfectly complement these crispy, satisfying delights.
-
Fresh Guacamole:
Creamy and zesty, guacamole adds a cooling contrast to the rich filling, making every bite utterly blissful. -
Mexican Street Corn:
This sweet and savory dish offers a delightful crunch with a hint of lime, enhancing the overall fiesta feel. -
Pico de Gallo:
With its burst of fresh tomatoes, cilantro, and lime, this salsa brightens up your chimichangas, bringing a refreshing touch. -
Refried Beans:
Creamy and hearty, refried beans complement the crispiness while adding a comforting element to your meal. -
Spanish Rice:
Fluffy, seasoned rice creates a filling side that balances the richness of the chimichangas—a satisfying pairing. -
Sour Cream Drizzle:
The cool, tangy richness of sour cream balances the heat and enhances the overall flavor profile of your dishes. -
Crispy Tortilla Chips:
Serve these alongside for an extra crunch, perfect for dipping into guacamole or salsa—a fun addition to the table. -
Margaritas:
A frozen or classic margarita adds a festive touch, with its sweet and tangy flavors bringing out the best in your chimichangas. -
Churros for Dessert:
End your Tex-Mex night with fluffy, cinnamon-sugar coated churros for a sweet finish that everyone will adore.
Beef and Cheese Chimichangas Variations
Feel free to get creative with your chimichangas! Explore these delicious twists and substitutions to make this recipe uniquely yours.
-
Chicken Chimichangas: Substitute ground beef with shredded chicken for a lighter option that still packs a punch. The tender chicken pairs beautifully with the creamy filling.
-
Vegetarian Delight: Replace meat with a mix of sautéed bell peppers, onions, and black beans for a colorful and hearty vegetarian version. Each bite bursts with vibrant flavors!
-
Spicy Kick: Add diced jalapeños or use pepper jack cheese to elevate the heat level for those who love a fiery twist. It adds an exciting contrast to the creamy cheese.
-
Breakfast Chimichangas: Swap out the beef for scrambled eggs and crispy bacon for a delightful breakfast twist. They’re perfect for a brunch gathering or lazy weekend mornings.
-
Cheesy Queso Version: For a creamy, cheesy explosion, pour queso sauce over your chimichangas just before serving. The gooey texture makes them even more irresistible.
-
Baked Chimichangas: If you’re looking for a healthier method, bake them instead of frying. Brush lightly with olive oil, which gives a crisp texture without the extra calories.
-
Freezer-Friendly: Make a big batch and freeze uncooked chimichangas for quick meals on busy nights. Just pop them in the oven for an easy dinner solution!
-
Flavored Tortillas: Experiment with flavored tortillas, such as spinach or sun-dried tomato, for an extra dimension of taste and a pop of color!
Don’t forget to check out these delightful recipes for perfect pairings like Cheesy Ground Beef or zingy Guacamole! Enjoy exploring and making these chimichangas your own!
Expert Tips for Beef and Cheese Chimichangas
- Fry Smartly: Fry seam-side down first to prevent opening during cooking, ensuring your Beef and Cheese Chimichangas stay intact.
- Oil Temperature: Use a thermometer to check oil is at 350°F (175°C) before frying for perfectly crispy results.
- Prepping Ahead: Assemble chimichangas and refrigerate up to 2 days for a quick, hassle-free weeknight dinner.
- Freezing Options: Freeze uncooked chimichangas for up to 2 months; cook straight from frozen with slightly increased baking time.
- Avoid Sogginess: Don’t over-soak tortillas in the filling; this helps keep your chimichangas crispy rather than soggy when cooked.
Make Ahead Options
These Beef and Cheese Chimichangas are perfect for meal prep enthusiasts! You can assemble the chimichangas and refrigerate them for up to 2 days before cooking, ensuring they’re ready for busy weeknights. Simply prepare the filling, fill the tortillas, and roll them tightly, then wrap in plastic wrap or place them in an airtight container to maintain freshness. If you prefer to prep even further ahead, you can freeze the assembled chimichangas for up to 2 months; just be sure to thaw them in the refrigerator overnight before cooking. When you’re ready to enjoy, follow your preferred cooking method—frying or baking—and serve them with your favorite toppings for a delightful homemade meal with minimal effort.
Beef and Cheese Chimichangas Recipe FAQs
What type of ground beef is best for the filling?
Absolutely! For the best flavor, I recommend using ground beef with an 80/20 fat ratio, which ensures juiciness without being overly greasy. If you want a leaner option, ground turkey or shredded chicken can be excellent substitutes for a lighter filling.
How should I store leftover chimichangas?
Very good question! Store any leftover Beef and Cheese Chimichangas in an airtight container in the refrigerator for up to 3 days. To reheat, pop them in an oven at 375°F (190°C) for about 15-20 minutes to bring back that crispy texture you love.
Can I freeze cooked chimichangas?
Yes, indeed! You can freeze cooked chimichangas for up to 3 months. Make sure they are completely cooled before wrapping each one in plastic wrap or foil, and place them in a freezer-safe bag. To reheat, bake from frozen at 375°F (190°C) for about 25-30 minutes until heated through.
What should I do if my tortillas are tearing while assembling?
Oh no! Tortillas tearing can be frustrating. To prevent this, warm the tortillas in a microwave for about 15-20 seconds or in a skillet for a few seconds on each side before assembling. This softens them and makes them more pliable, reducing the risk of tearing.
Are chimichangas safe for pets?
Great question! While some ingredients like cooked ground beef are okay for pets in moderation, it’s best to avoid chimichangas for your furry friends. The spices, garlic, and potential high-fat content aren’t suitable for pets. Always consult with a vet for safe feeding practices.
How can I make my chimichangas spicier?
Absolutely! To kick up the heat, try adding diced jalapeños or serrano peppers to the beef filling. You can also sprinkle in some cayenne pepper or use spicy taco seasoning. The more the merrier when it comes to flavor!
Crispy Beef and Cheese Chimichangas That Wow Every Bite
Ingredients
Equipment
Method
- In a large skillet, brown the ground beef and diced onion over medium heat for about 5-7 minutes. Drain excess fat, stir in minced garlic, taco seasoning, and salsa. Simmer for 3-5 minutes, then cool.
- Lay out tortillas, spread a thin layer of refried beans, spoon about 1/4 of the beef filling, and add shredded cheese. Fold sides and roll tightly.
- For fried chimichangas, heat oil to 350°F, fry seam-side down for 2-3 minutes each side. For baked, preheat oven to 400°F, brush with oil, and bake for 20-25 minutes until crispy.
- Let chimichangas rest for a couple of minutes, then serve warm with toppings like sour cream or guacamole.
Leave a Reply