
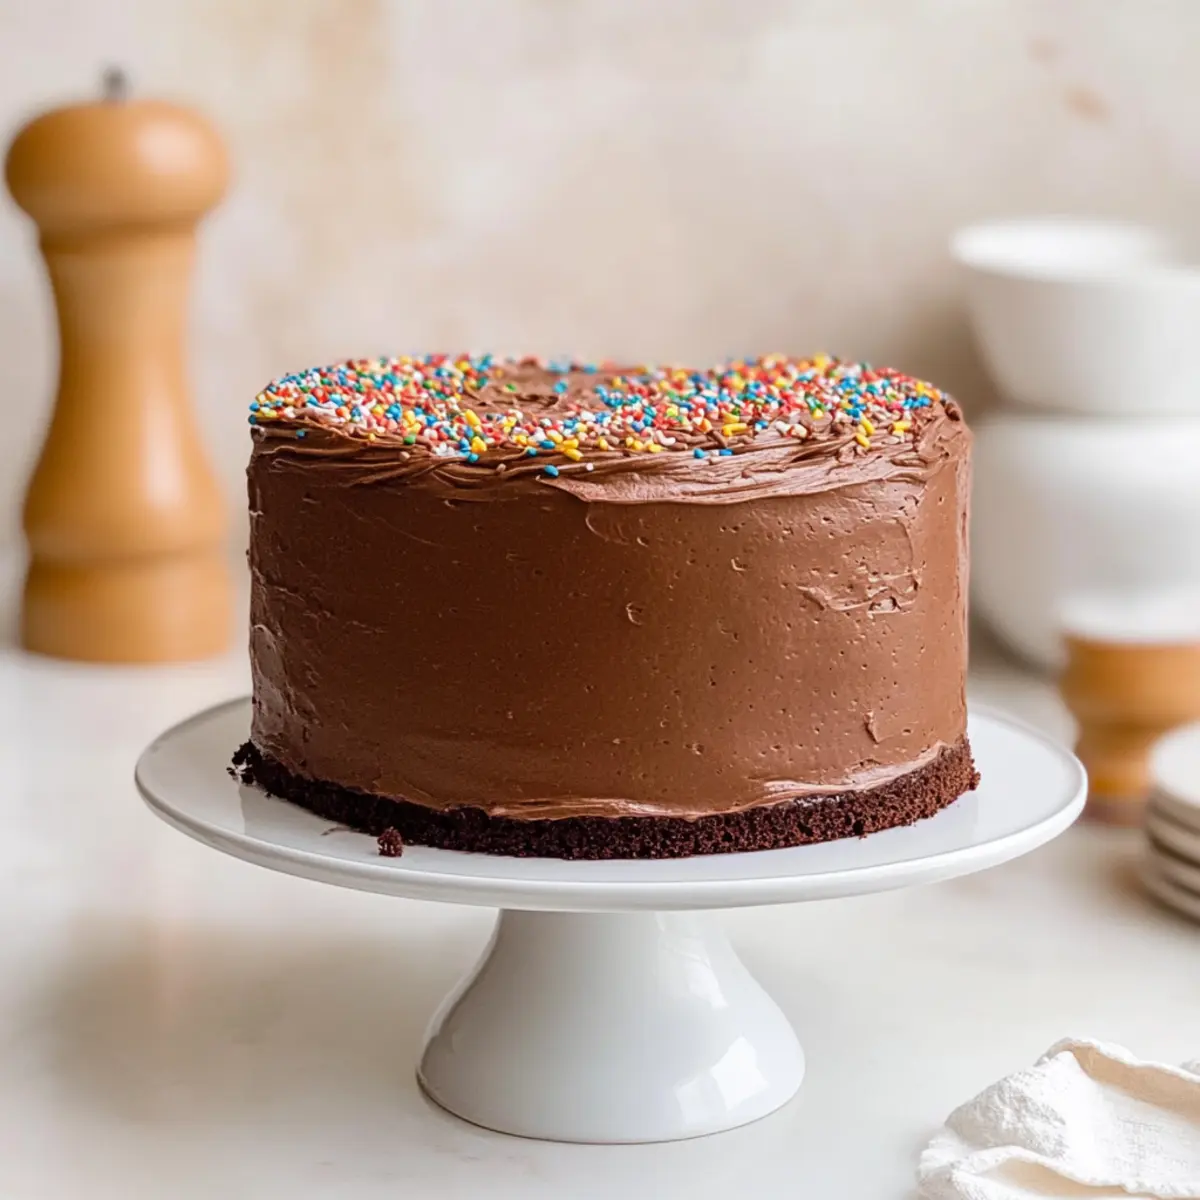
“Small cakes can pack a big punch, and this Mini Chocolate Cake is proof! As I whipped up this luscious 6-inch creation, I could already envision it stealing the spotlight at our next gathering. Perfectly sized for 2-4 people, this little gem is not just a dessert—it’s a heartfelt gesture for special occasions like Valentine’s Day. With its moist layers embraced by silky chocolate buttercream, you’re bound to see smiles all around with every slice. Bonus: it’s quick to prepare, making it an ideal choice for those busy days when you want to create something spectacular without spending hours in the kitchen. Ready to treat yourself and loved ones to a delightful moment? Let’s dive into the world of cake perfection together!”
Why is This Cake a Must-Bake?
Mini Chocolate Cake is your new go-to for celebrations! Perfectly Portion-Sized for 2-4 people, it’s ideal for intimate gatherings or romantic dinners. Quick to Prepare, you’ll have this luscious dessert ready in just about an hour. Decadent Flavor with rich, moist layers topped with silky chocolate buttercream will delight any chocolate lover. Plus, it’s versatile—experiment with different toppings or pair it with a scoop of ice cream to elevate your experience. Whether it’s a special occasion or just a treat for yourself, this cake promises smiles with every slice! If you’re looking for easy dessert ideas, don’t miss out on our Chocolate Peanut Butter Banana Bread or Banana Chocolate Chip Bars for more delicious options!
Mini Chocolate Cake Ingredients
• Get ready to create this delightful dessert with the following ingredients!
For the Cake
- Warm Coffee or Water (120 g) – Enhances the chocolate flavor; brewed coffee gives an extra depth.
- All-Purpose Flour (120 g) – Provides structure; no direct substitutions recommended for best results.
- Cornstarch (2 tsp) – Lightens the cake texture; can omit for a denser cake.
- Granulated Sugar (100 g) – Sweetens and enhances moisture; brown sugar can be swapped in for a richer flavor.
- Brown Sugar (50 g) – Adds moisture and richness; can replace with more granulated sugar if needed.
- Unsweetened Cocoa Powder (25 g) – Imparts a deep chocolate flavor; Dutch-processed can alter the taste.
- Baking Powder (½ tsp) – A leavening agent that helps the cake rise.
- Baking Soda (½ tsp) – Works with acid (sour cream) to give leavening.
- Salt (½ tsp) – Balances sweetness, enhancing the flavor overall.
- Vegetable Oil (55 g) – Adds moisture and tenderness; melted coconut oil is a great substitute.
- Sour Cream (90 g) – Provides moisture and tang; can be replaced 1:1 with full-fat Greek yogurt.
- Large Egg (1) – Binds the ingredients; essential for the cake’s structure.
- Vanilla Extract (1 tsp) – Deepens the flavor; using pure vanilla will elevate the taste.
For the Frosting
- Room Temperature Butter (115 g) – Ensures a creamy frosting consistency; soft butter is key.
- Powdered Sugar (115 g) – Sweetens and thickens the frosting; essential for the ideal texture.
- Dutch Processed Cocoa Powder (2 tsp) – Deepens the chocolate flavor in the frosting.
- Dark Chocolate Chips (115 g) – Melts into the frosting for richness; semi-sweet or bittersweet works best.
- Vanilla Extract (½ tsp) – Enhances the frosting’s flavor.
For Decoration
- Sprinkles – Adds a pop of color and fun visual appeal.
Now that you have your ingredients ready, get excited to bake this Mini Chocolate Cake that will surely impress your guests!
Step‑by‑Step Instructions for Mini Chocolate Cake
Step 1: Preheat the Oven and Prepare Pans
Begin by preheating your oven to 170ºC (340ºF). While it’s heating, take two 6-inch cake pans and line the bottoms with parchment paper. This will ensure your Mini Chocolate Cake layers release easily after baking. Grease the sides with a touch of oil, making sure every inch is coated for a smooth removal.
Step 2: Combine Dry Ingredients
In a large mixing bowl, sift together the all-purpose flour, cornstarch, granulated sugar, brown sugar, cocoa powder, baking powder, baking soda, and salt. Mixing these dry ingredients thoroughly will help prevent clumping and ensure an even texture in your cake. Set the bowl aside, and get ready to whisk the wet ingredients next.
Step 3: Mix Wet Ingredients
In a separate bowl, vigorously whisk together the warm coffee or water, vegetable oil, sour cream, egg, and vanilla extract until fully combined. You want a smooth, cohesive mixture that will beautifully meld with the dry ingredients to create a moist Mini Chocolate Cake. Make sure your wet ingredients are at room temperature for the best results.
Step 4: Combine Wet and Dry Mixtures
Gradually pour the wet ingredients into the bowl of dry ingredients. Use a spatula or wooden spoon to gently mix until the batter is smooth and free of lumps. Be careful not to overmix, as this can affect the cake’s texture. The batter should be well combined and have a rich, chocolaty color that promises deliciousness.
Step 5: Bake the Cake
Divide the batter evenly between the prepared cake pans, smoothing the tops with a spatula for an even bake. Place the pans in the preheated oven and bake for 22-24 minutes. The Mini Chocolate Cake layers are done when a toothpick inserted in the center comes out clean or with a few moist crumbs attached.
Step 6: Cool the Cakes
After baking, allow the cakes to cool in the pans for about 5 minutes. Then, carefully transfer them to a wire rack to cool completely. This step is crucial, as it prevents sogginess and allows your cakes to develop the perfect texture for layering and frosting.
Step 7: Prepare the Frosting
To make the frosting, melt the dark chocolate chips in a microwave or double boiler until smooth. In a mixing bowl, combine the melted chocolate with the sifted powdered sugar, cocoa powder, softened butter, and vanilla extract. Mix until the frosting is light, fluffy, and spreadable. This chocolate buttercream will add a luscious layer of flavor to your cake.
Step 8: Assemble the Mini Cake
Once the chocolate cake layers are completely cool, place the first layer on a serving plate or cake stand. Spread an even layer of frosting on top, then add the second layer. Refrigerate the cake briefly to set the frosting, making it easier to frost the top and sides. Use the remaining frosting to beautifully coat the entire cake.
Step 9: Decorate and Present
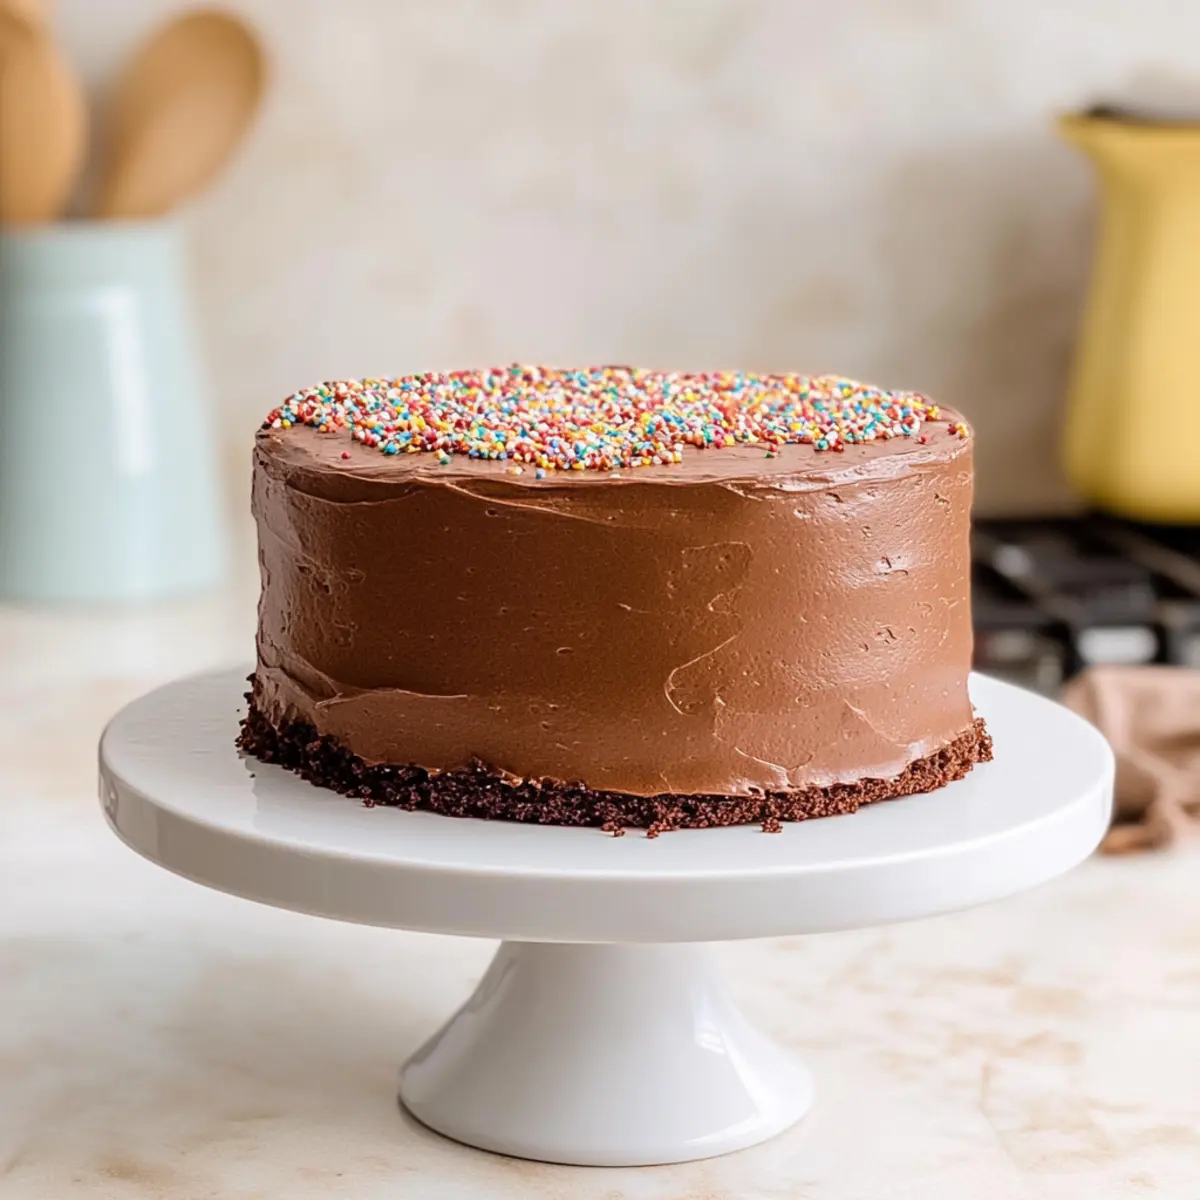
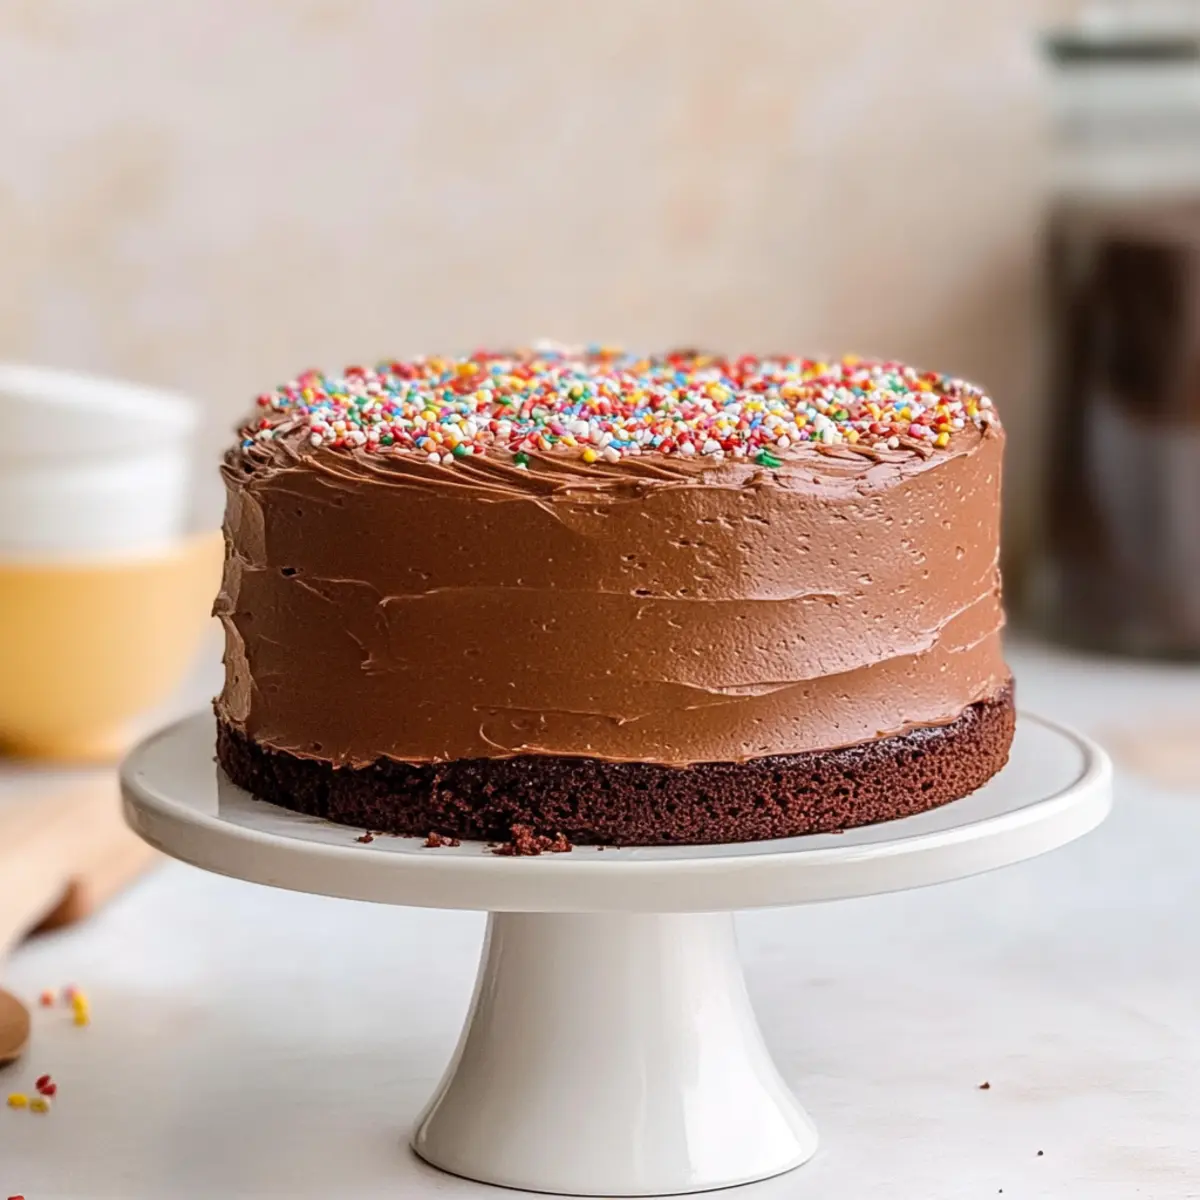
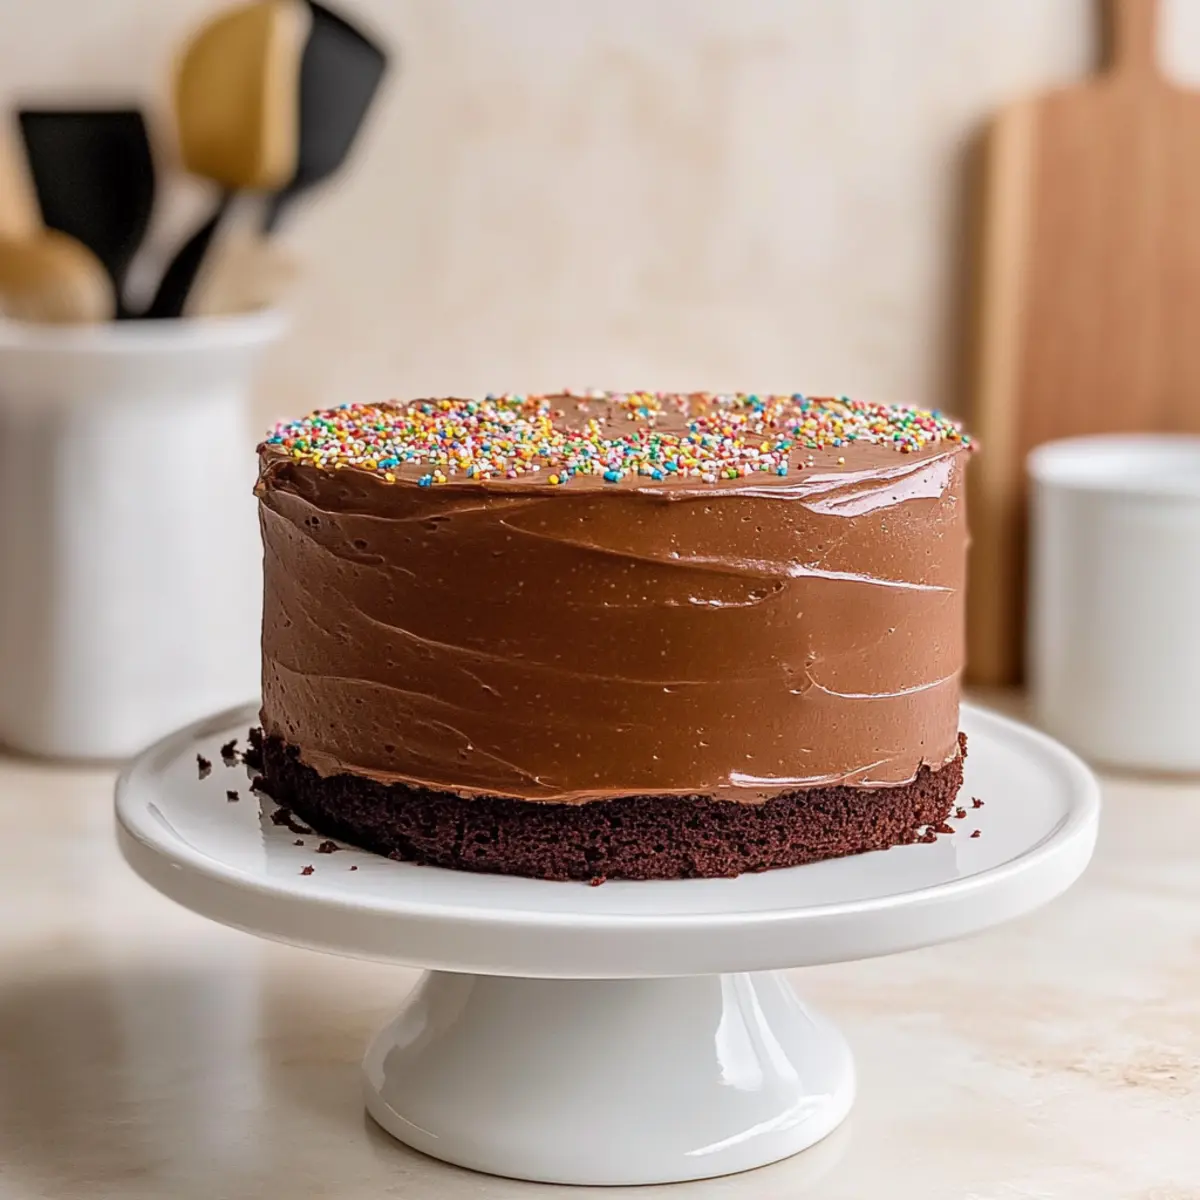
Finally, decorate your Mini Chocolate Cake with colorful sprinkles on top for a festive touch. This charming detail adds visual appeal and enhances the delightful experience of this cake. Your gorgeous creation is now ready to impress at any gathering, whether for two or four people.
How to Store and Freeze Mini Chocolate Cake
Room Temperature: Keep the cooled Mini Chocolate Cake wrapped in plastic wrap at room temperature for up to 3 days. This preserves its moisture and richness.
Fridge: Store any leftover cake in an airtight container in the fridge for up to a week. This will keep the cake fresh, but it may slightly affect the texture.
Freezer: For longer storage, wrap the cake layers tightly in plastic wrap and aluminum foil, then freeze for up to 3 months. Thaw in the fridge overnight before serving for the best results.
Reheating: If desired, gently reheat individual slices in the microwave for about 10-15 seconds to enjoy the cake warm, enhancing the chocolate flavor.
Expert Tips for Mini Chocolate Cake
- Room Temperature Ingredients: Ensure all ingredients are at room temperature for optimal mixing, which creates a smooth batter and lighter cake.
- Avoid Overmixing: When combining wet and dry ingredients, mix just until combined. Overmixing can lead to a dense Mini Chocolate Cake.
- Check for Doneness: Use a toothpick to test for doneness; it should come out clean or with a few moist crumbs. Avoid opening the oven too soon.
- Cooling Time: Allow cakes to cool completely on a wire rack to prevent sogginess. This step is key for achieving the right texture in layers.
- Frosting Consistency: Mix the frosting until light and fluffy, but don’t overdo it. Overmixing can lead to a grainy texture that detracts from the creamy experience.
What to Serve with Mini Chocolate Cake
Imagine your special occasion brightened by delectable pairings that elevate this enchanting dessert experience!
-
Fresh Berries: Bright, tart berries like raspberries or strawberries add a refreshing contrast to the rich chocolate cake.
-
Vanilla Ice Cream: Serve a scoop alongside for a creaminess that balances the cake’s dense chocolate flavors.
-
Whipped Cream: Light and airy, freshly whipped cream offers a delightful textural contrast that enhances each slice’s indulgence.
-
Espresso or Coffee: A warm cup of coffee or espresso can deepen the chocolate experience, creating a cozy atmosphere.
-
Chocolate Sauce Drizzle: For an extra touch of sweetness, a warm chocolate sauce can make each bite even more decadent and lush.
-
Mint Leaves: Incorporate a fresh mint garnish for a pop of color and a zesty flavor that refreshes the palate!
-
Dark Chocolate Shavings: Sprinkle some on top for a touch of elegance and an extra burst of chocolate goodness.
-
Champagne: Toast with a glass of bubbly, making your gathering feel sophisticated and festive alongside your Mini Chocolate Cake.
Each pairing brings its unique flair, creating a dessert table that invites laughter, love, and unforgettable memories!
Mini Chocolate Cake: Flavor Variations
Customize your Mini Chocolate Cake to make it uniquely yours, and let your creativity shine through with these delightful twists!
- Greek Yogurt Swap: Replace sour cream with full-fat Greek yogurt for a slightly tangy kick and creamy texture.
- Milk Chocolate Twist: Substitute dark chocolate chips in the frosting with milk chocolate for a sweeter, creamier taste that’s simply irresistible.
- Berry Delight: Top with fresh strawberries or raspberries instead of sprinkles for a fruity twist that adds a burst of tartness and color.
- Nutty Crunch: Add chopped walnuts or pecans in between cake layers for a satisfying crunch that contrasts beautifully with the soft cake.
- Espresso Boost: Replace water with espresso for a deeper coffee flavor, complementing the rich chocolate and delighting your senses.
- Spicy Surprise: Mix in a pinch of cayenne pepper or cinnamon into the batter for a subtle heat that enhances the chocolate flavor.
- Frosting Fun: Experiment with flavored extracts like almond or hazelnut instead of vanilla for a unique twist in your buttercream frosting.
- Layered Cake: For a showstopper, bake multiple mini cakes to stack, creating a multi-layered effect that makes each slice a masterpiece!
While you’re exploring these variations, why not pair your cake with a scoop of vanilla ice cream or fresh whipped cream for an elevated dessert experience? If you’re looking for more delightful recipes, check out our Double Chocolate Banana Bread or the rich flavors of Chocolate Overnight Oats. Enjoy baking and savoring every bite!
Make Ahead Options
These Mini Chocolate Cake layers can be prepared ahead of time, making them perfect for busy schedules! You can bake the cake layers up to 24 hours in advance; simply let them cool completely, wrap them tightly in plastic wrap, and store at room temperature. The frosting can also be made up to 3 days ahead, stored in an airtight container in the refrigerator. When you’re ready to serve, take the layers and frosting out. Allow the frosting to come to room temperature, then simply assemble the cake with a generous layer of frosting between the layers and all around the outside. This way, you’ll have an impressive dessert without the last-minute rush, ensuring that your Mini Chocolate Cake tastes just as delicious!
Mini Chocolate Cake Recipe FAQs
How do I select the best ingredients for this cake?
Absolutely! When selecting ingredients, fresh and high-quality items will make a notable difference in flavor. Opt for eggs that are free from blemishes and butter that is truly fresh. For the cocoa powder, look for unsweetened varieties that are rich in color—this indicates better quality. The same goes for chocolate chips; choose semi-sweet or bittersweet options for a rich, satisfying bite.
How should I store my Mini Chocolate Cake?
To store your Mini Chocolate Cake at room temperature, wrap it tightly in plastic wrap to keep it moist and flavorful for up to 3 days. If you need to store it longer, placing it in the refrigerator can help, but be sure to seal it in an airtight container to prevent it from drying out—this way, it will last up to a week. Just remember, refrigerated cake may lose a bit of its lovely softness, so it’s best served at room temperature.
Can I freeze the Mini Chocolate Cake?
Certainly! To freeze your Mini Chocolate Cake, first wrap each layer tightly in plastic wrap, ensuring no air can seep in. Then, place the wrapped layers in a sturdy freezer bag or an airtight container, which will protect them from freezer burn. You can freeze the cake for up to 3 months. When you’re ready to enjoy it, simply thaw the layers in the refrigerator overnight, and they’ll be just as delicious as the day you made them!
What if my cake doesn’t rise properly?
Very! A common troubleshooting tip is to ensure your baking powder and baking soda are fresh, as expired leavening agents can leave your cake flat. Also, make sure you don’t overmix the batter once the wet and dry ingredients are combined, as this can activate the gluten in the flour and lead to a denser cake. Finally, always preheat your oven; an unheated oven can drastically affect how your cake rises.
Is this cake suitable for dietary restrictions?
Absolutely! If you’re looking to accommodate dietary needs, you can easily substitute the sour cream with full-fat Greek yogurt for a lighter option without sacrificing taste. For vegan diets, you can replace the egg with a flaxseed meal (1 tablespoon of flaxseed mixed with 2.5 tablespoons of water, let sit for a couple of minutes). Just be sure to choose a vegan butter or coconut cream for the frosting to keep it entirely plant-based.
Mini Chocolate Cake: The Perfect Sweet Treat for Two
Ingredients
Equipment
Method
- Preheat your oven to 170ºC (340ºF) and line two 6-inch cake pans with parchment paper.
- In a mixing bowl, sift together the flour, cornstarch, granulated sugar, brown sugar, cocoa powder, baking powder, baking soda, and salt.
- In another bowl, whisk together the warm coffee or water, vegetable oil, sour cream, egg, and vanilla extract until fully combined.
- Gradually pour the wet ingredients into the dry ingredients and mix until smooth, being careful not to overmix.
- Divide the batter between the prepared cake pans and bake for 22-24 minutes, or until a toothpick comes out clean.
- Allow the cakes to cool in the pans for about 5 minutes before transferring them to a wire rack to cool completely.
- To make the frosting, melt the dark chocolate chips and mix with sifted powdered sugar, cocoa powder, softened butter, and vanilla extract.
- Once the cakes are cool, layer the first cake on a serving plate, spread frosting on top, and add the second layer.
- Decorate with sprinkles for a festive touch and enjoy your Mini Chocolate Cake!
Leave a Reply