
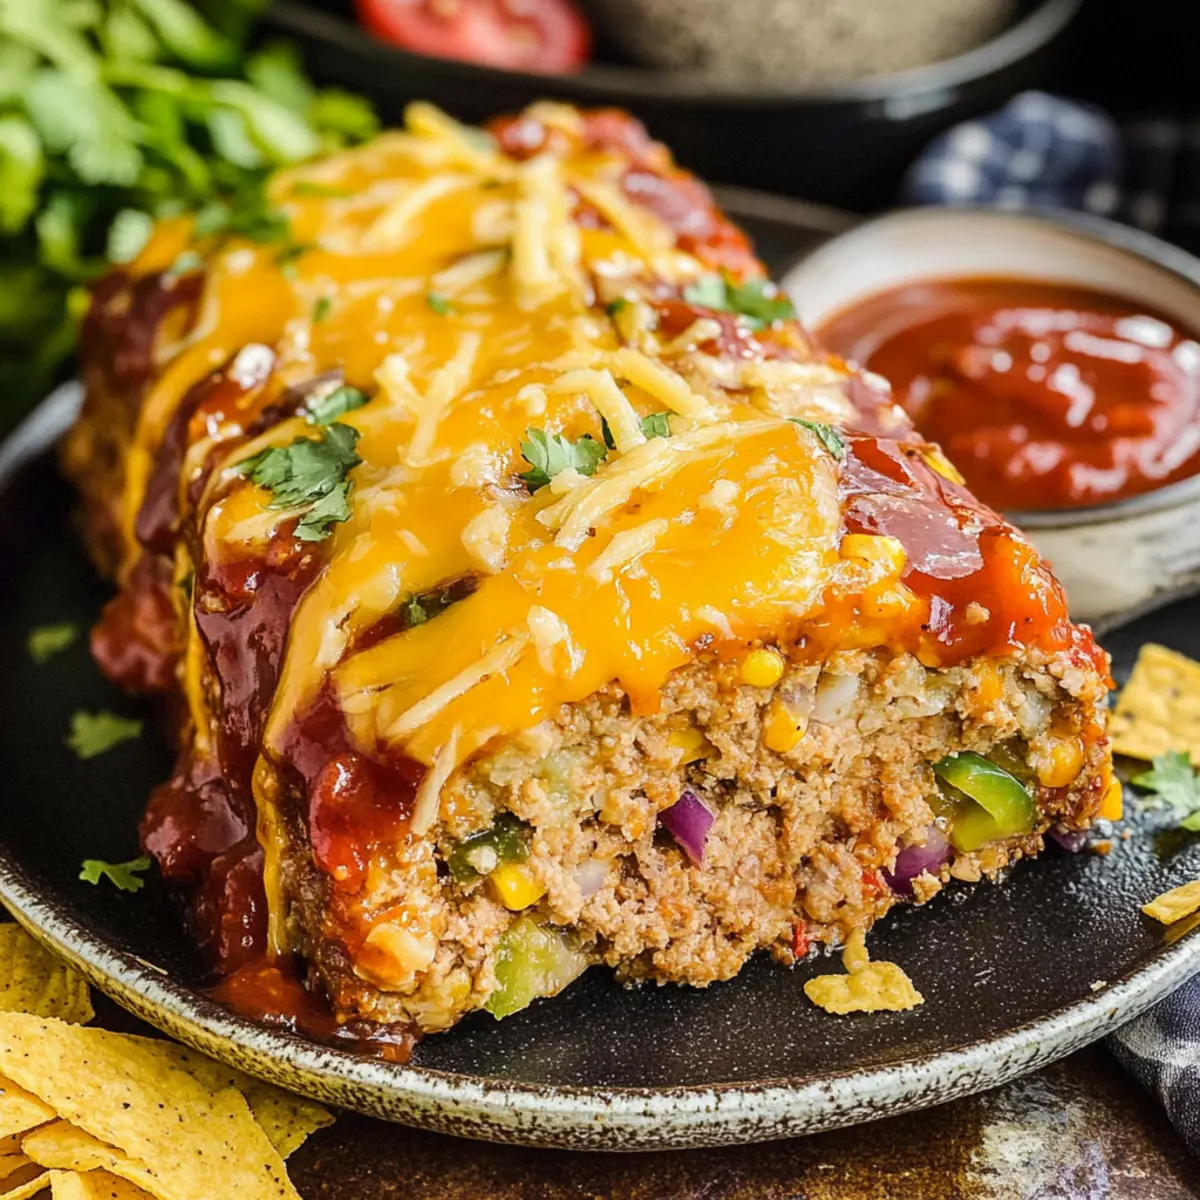
“Did you hear what she made for dinner last night?” That’s the buzz you’ll be generating with this Cheesy Taco Meatloaf, a playful twist on the classic that infuses every bite with a fiesta of Tex-Mex flavors. Picture this: savory ground beef mingling with zesty taco seasoning, creamy cheddar, and crunchy tortilla chips, creating a dish that’s not only a crowd-pleaser but also freezer-friendly and quick to prepare. Whether you’re serving it at a family gathering or just treating yourself to a comforting weeknight meal, this recipe is endlessly customizable. Switch the beef for ground turkey or chicken, and you’ve got a lighter, equally satisfying option! Curious how such a simple combo can transform mealtime? Keep reading to discover the magic behind this deliciously unique meatloaf!
Why is This Meatloaf So Irresistible?
Unique Twist: This meatloaf offers a flavor-packed adventure with its Tex-Mex spin, elevating a traditional dish into a true crowd-pleaser.
Versatile Ingredients: It’s easily customizable—whether you prefer ground turkey, chicken, or beef, you can adjust it to match your cravings or dietary needs.
Crunchy Texture: Thanks to the corn tortilla chips, each bite brings a delightful crunch that you won’t find in ordinary meatloaf.
Quick and Freezer-Friendly: Perfect for busy nights, this recipe can be prepared in advance—just pop it in the freezer and enjoy later with no fuss!
Mouthwatering Appeal: The combination of melted cheese and zesty sauce creates a comforting dish that will have everyone asking for seconds. Serve it alongside some Mexican rice or a fresh salad for a complete meal! If you’re feeling adventurous, check out my amazing Taco Cream Cheese for a fun side dish!
Mexican Taco Meatloaf Ingredients
For the Meatloaf
• Ground Beef – The heart of this dish; opt for 80% lean for a juicy texture.
• Corn Tortilla Chips – Adds crunch while keeping it gluten-free; regular breadcrumbs can be used if preferred.
• Yellow Onion – Offers sweetness and depth; feel free to swap with white onion or shallots.
• Green Bell Pepper – Brings a pop of color and crunch; consider red or yellow peppers for a sweeter flavor.
• Eggs – Acts as a binder and adds moisture; whisk well for even mixing.
• Rotel Tomatoes – Introduces moisture and a hint of acidity; diced tomatoes with chiles are a great substitute.
• Canned Corn – Provides sweetness and extra texture; omit if you’re short on ingredients or add more veggies instead.
• Taco Seasoning – Infuses Tex-Mex flavor into the meatloaf; homemade or store-bought works—around 3 tablespoons is perfect.
• Shredded Cheese – Cheddar or pepper jack adds a creamy finish; don’t hold back!
• Red Taco Sauce – Use this flavorful topping to elevate your meatloaf; adjust based on your spice preference.
• Cilantro or Parsley – Fresh herbs brighten the presentation and flavor; a lovely garnish choice.
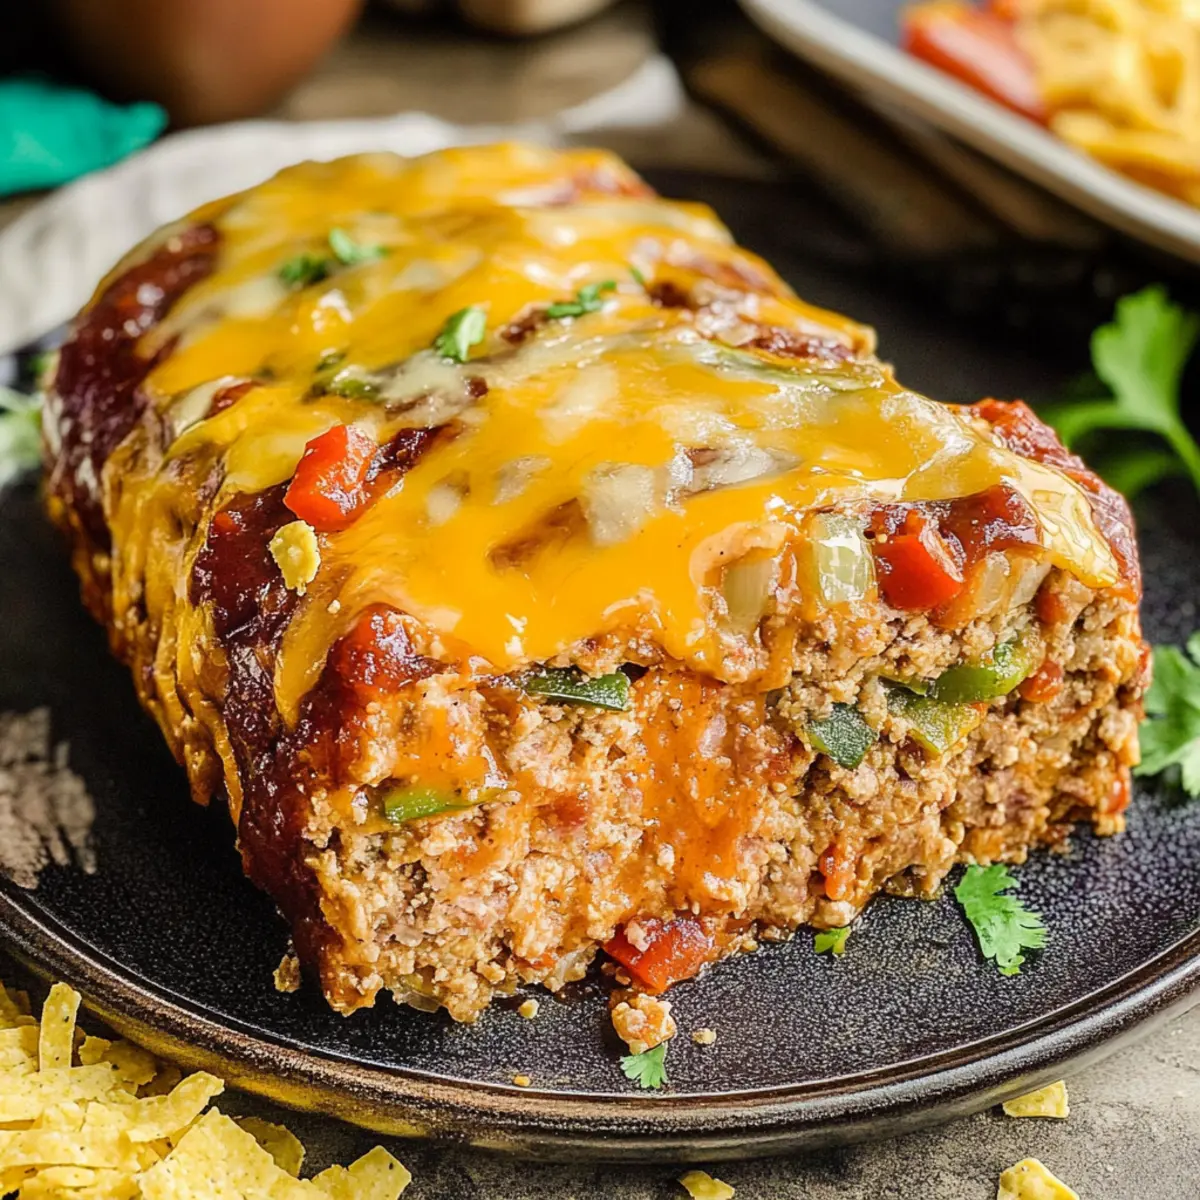
Rediscover this comforting classic with a creative, Tex-Mex twist through the delightful flavors of the Mexican Taco Meatloaf!
Step‑by‑Step Instructions for Mexican Taco Meatloaf
Step 1: Preheat the Oven
Begin by preheating your oven to 350°F (175°C) to ensure it’s at the right temperature when you’re ready to bake. This step is key for evenly cooking your Mexican Taco Meatloaf, resulting in a deliciously tender interior while ensuring a slightly crispy exterior.
Step 2: Combine the Ingredients
In a large mixing bowl, combine the ground beef, crushed corn tortilla chips, diced onion, chopped green bell pepper, whisked eggs, Rotel tomatoes, drained corn, taco seasoning, and 1 cup of shredded cheese. Use your hands or a spatula to mix until just combined, being careful not to over-mix for a tender meatloaf.
Step 3: Shape the Meatloaf
Transfer the mixture into a greased 9×5-inch loaf pan, shaping it into a loaf. Make sure to leave a small channel along the sides of the meatloaf to allow any excess fat to drain during baking. This ensures your Mexican Taco Meatloaf cooks evenly and isn’t too greasy.
Step 4: Bake and Add Toppings
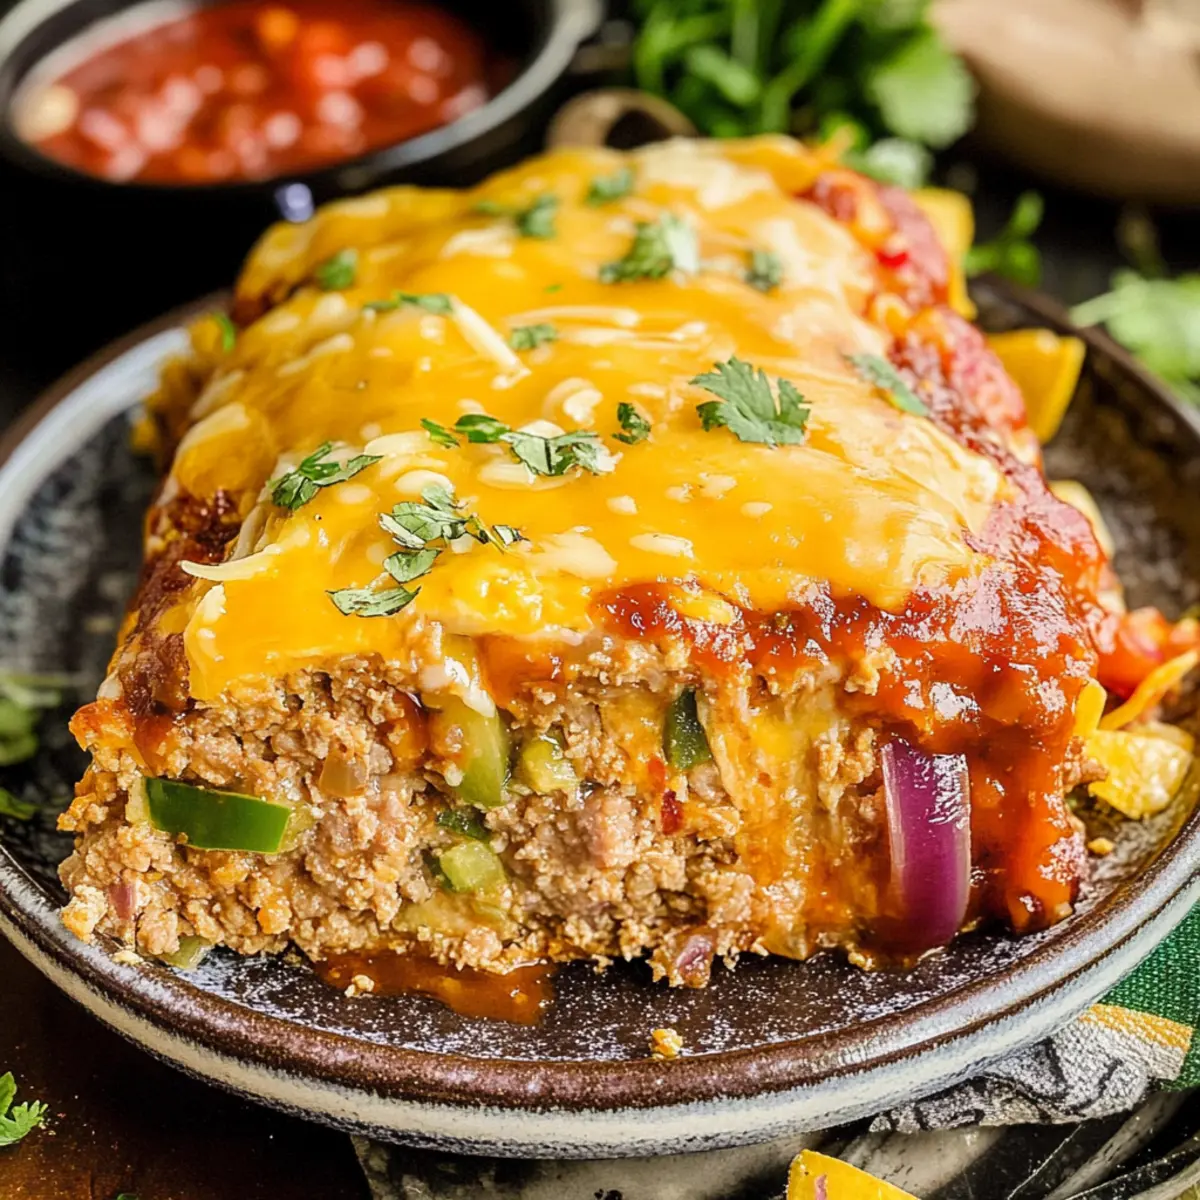
Place the meatloaf in the preheated oven and bake for about 50 minutes, or until the edges start to brown. Once cooked, remove it from the oven and generously top it with red taco sauce and the remaining shredded cheese, allowing the melted cheese to create a rich, gooey texture.
Step 5: Final Baking
Return the meatloaf to the oven and bake for an additional 10-15 minutes, until the internal temperature hits 160°F (71°C). This ensures that your Mexican Taco Meatloaf is perfectly cooked through and safe to eat, while the cheese is bubbly and golden.
Step 6: Rest Before Serving
Once the meatloaf is done baking, remove it from the oven and cover it loosely with aluminum foil. Allow it to rest for 10 minutes; this resting period helps to lock in moisture, ensuring your slices are juicy and flavorful.
Step 7: Garnish and Serve
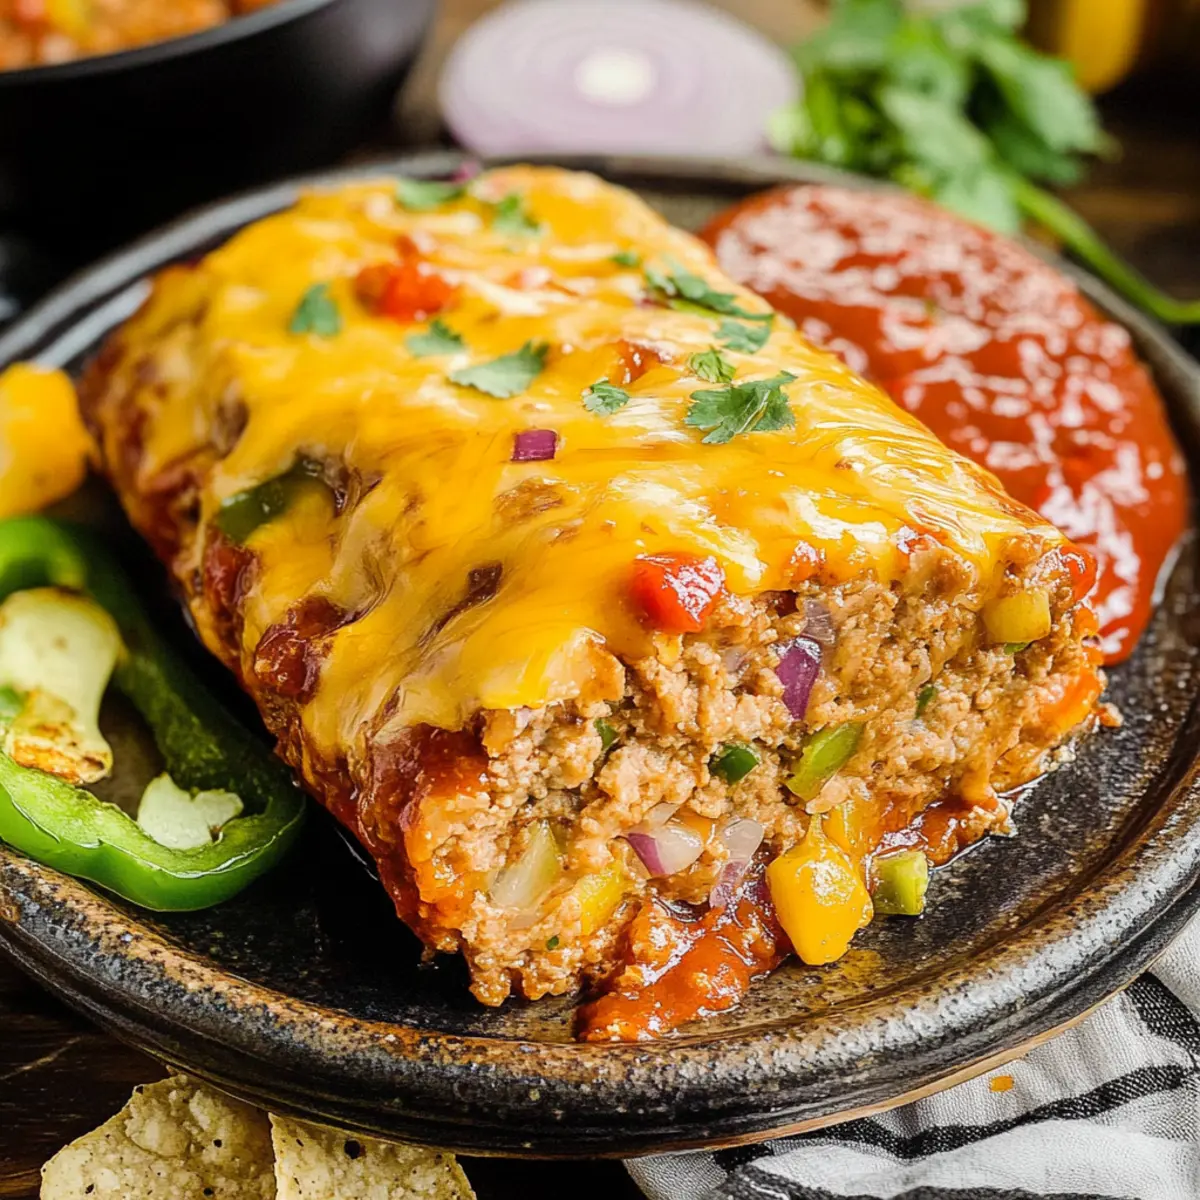
After resting, slice the meatloaf and garnish it with freshly chopped cilantro or parsley for an added touch of flavor and color. Serve your Mexican Taco Meatloaf warm, surrounded by your favorite sides for a satisfying family meal.
Expert Tips for Mexican Taco Meatloaf
- Avoid Over-Mixing: Mixing too vigorously can lead to a tough meatloaf; gently combine ingredients for a tender, juicy finish.
- Meat Thermometer: Always check the internal temperature; a safe internal temperature of 160°F (71°C) ensures it’s fully cooked and safe to enjoy.
- Freezer-Friendly: If you can’t enjoy it all at once, wrap leftover slices tightly and freeze for up to 3 months. Just reheat in the oven!
- Customize to Taste: Feel free to switch out ground beef with turkey or chicken to suit your taste and dietary preferences in this Mexican Taco Meatloaf.
- Let It Rest: Allowing the meatloaf to rest for 10 minutes before slicing helps preserve moisture and ensures each slice is juicy and flavorful.
- Creative Toppings: Experiment with toppings; try adding sliced jalapeños or different types of cheese before the final bake for added flavor.
What to Serve with Cheesy Taco Meatloaf?
Picture a vibrant dinner table that’s bursting with flavors and textures to complement your meatloaf masterpiece!
-
Mexican Rice: A fluffy and mildly seasoned rice that pairs beautifully, soaking up the juicy flavors of the meatloaf.
-
Zesty Coleslaw: A crunchy, tangy slaw adds a refreshing contrast, enhancing the savory richness of the meatloaf dish.
-
Guacamole: Creamy and rich, this avocado dip brings a smooth balance to every bite, making your meal even more delightful.
-
Tortilla Chips with Salsa: Perfect for crunch lovers, this classic duo serves as a fun starter and amplifies the Tex-Mex theme.
-
Grilled Corn on the Cob: Sweet and smoky grilled corn serves as a delightful side, bringing extra sweetness to the table alongside the savory meatloaf.
-
Sour Cream: A dollop of creamy sour cream provides a cooling effect that beautifully balances the spiciness of the Tex-Mex flavors.
-
Chilled Cucumber Salad: Refreshing and light, this salad adds a crisp element while cutting through the richness, making it a perfect accompaniment.
-
Spicy Margaritas: Pair your meal with a zesty cocktail to elevate the flavors and bring a festive vibe, perfect for a dinner with friends.
-
Flan or Churros: End your meal on a sweet note; these traditional desserts offer a delightful finish for an unforgettable dining experience.
How to Store and Freeze Mexican Taco Meatloaf
Fridge: Store your cooked Mexican Taco Meatloaf in an airtight container for 3-5 days. Let it cool before sealing to maintain freshness.
Freezer: Wrap the meatloaf tightly in plastic wrap or aluminum foil, then place it in a freezer-safe container. It will stay good for up to 3 months.
Reheating: To reheat, thaw in the fridge overnight, then bake at 350°F (175°C) for about 20-30 minutes or until heated through.
Leftovers: Enjoy leftovers as a filling for tacos or in a salad for a delicious twist, maximizing the use of your tasty meatloaf!
Mexican Taco Meatloaf Variations
Feel free to put your own stamp on this recipe with these delicious twists that will tickle your taste buds!
-
Ground Turkey or Chicken: Swap with lean ground turkey or chicken for a lighter meatloaf that’s just as tasty.
-
Cheese Options: Try pepper jack for a spicy kick or leave it out for a vegan version without sacrificing flavor.
-
Veggie Boost: Add black beans or diced zucchini to increase fiber while making it heartier; you’ll love the extra texture!
-
Spicy Flavor: Toss in jalapeños or a dash of hot sauce to kick up the heat level; perfect for spice lovers!
-
Herbs and Spices: Experiment with fresh herbs like cilantro, or add a pinch of cumin for an earthy boost in flavor.
-
Tortilla Base: Swap corn tortilla chips for crushed nachos or even potato chips for a unique crunchy twist.
-
Sweet Touch: For a hint of sweetness, mix in some diced bell peppers or even a spoonful of barbecue sauce for a fun fusion!
-
Side Inspirations: Serve it with a refreshing salad or a savory Mexican rice; both pair perfectly with the flavor explosion of this meatloaf!
Looking for more fun ideas? Check out my wonderful Taco Ring New or try something different with Pot Birria Tacos for your next meal!
Make Ahead Options
These Mexican Taco Meatloaf options are ideal for busy home cooks looking to save time during the week! You can prepare the meatloaf mixture up to 24 hours in advance, storing it tightly covered in the refrigerator. To maintain its delicious texture, avoid over-mixing the ingredients. You can also shape the meatloaf and refrigerate it overnight, ready for quick baking the next day. When you’re ready to serve, simply pop it in a preheated oven, adding an extra 10-15 minutes to the usual baking time if it’s chilled. With these make-ahead tips, you’ll enjoy comfort food with minimal effort during those hectic nights!
Mexican Taco Meatloaf Recipe FAQs
What kind of ground meat can I use in this recipe?
Absolutely! While ground beef is recommended for its rich flavor, feel free to swap it with ground turkey or chicken for a leaner option. Just remember to adjust cooking time slightly since turkey may cook faster, and keep an eye on the internal temperature.
How should I store leftovers of the Mexican Taco Meatloaf?
You can store your cooked Mexican Taco Meatloaf in an airtight container in the refrigerator for 3-5 days. It’s best to let the meatloaf cool completely before sealing it up to preserve its flavor and moisture.
Can I freeze Mexican Taco Meatloaf?
Yes, you can freeze it! Wrap the meatloaf tightly in plastic wrap followed by aluminum foil, or place it in a freezer-safe container. It will maintain its best quality for up to 3 months. When ready to enjoy, thaw it overnight in the fridge and reheat.
What if I don’t have canned corn?
No problem! If canned corn is not available, you can simply omit it or replace it with extra diced vegetables like bell peppers or zucchini, which won’t alter the delicious flavors of your Mexican Taco Meatloaf. The more the merrier when it comes to veggies!
How can I tell when the meatloaf is cooked properly?
To ensure your meatloaf is perfectly cooked, using a meat thermometer is key! Insert it into the center, and make sure the internal temperature reaches 160°F (71°C). This guarantees it’s safe to eat while also ensuring it stays juicy and tender.
Can I make this meatloaf gluten-free?
Absolutely! This Mexican Taco Meatloaf is already set up to be gluten-free with the use of corn tortilla chips instead of breadcrumbs. Just check the ingredients on the chips to ensure they meet your dietary needs.
Mexican Taco Meatloaf: A Cheesy Twist on Comfort Food
Ingredients
Equipment
Method
- Preheat the oven to 350°F (175°C) for even cooking.
- In a large mixing bowl, combine ground beef, crushed tortilla chips, diced onion, chopped bell pepper, whisked eggs, Rotel tomatoes, drained corn, taco seasoning, and 1 cup of shredded cheese. Mix until just combined.
- Transfer the mixture to a greased 9x5-inch loaf pan, shaping it into a loaf.
- Bake for about 50 minutes or until edges start to brown. Top with red taco sauce and remaining cheese, then return to oven.
- Final bake for 10-15 minutes until the internal temperature reaches 160°F (71°C).
- Remove from oven, cover loosely, and let rest for 10 minutes before slicing.
- Garnish with chopped cilantro or parsley before serving.
Leave a Reply