
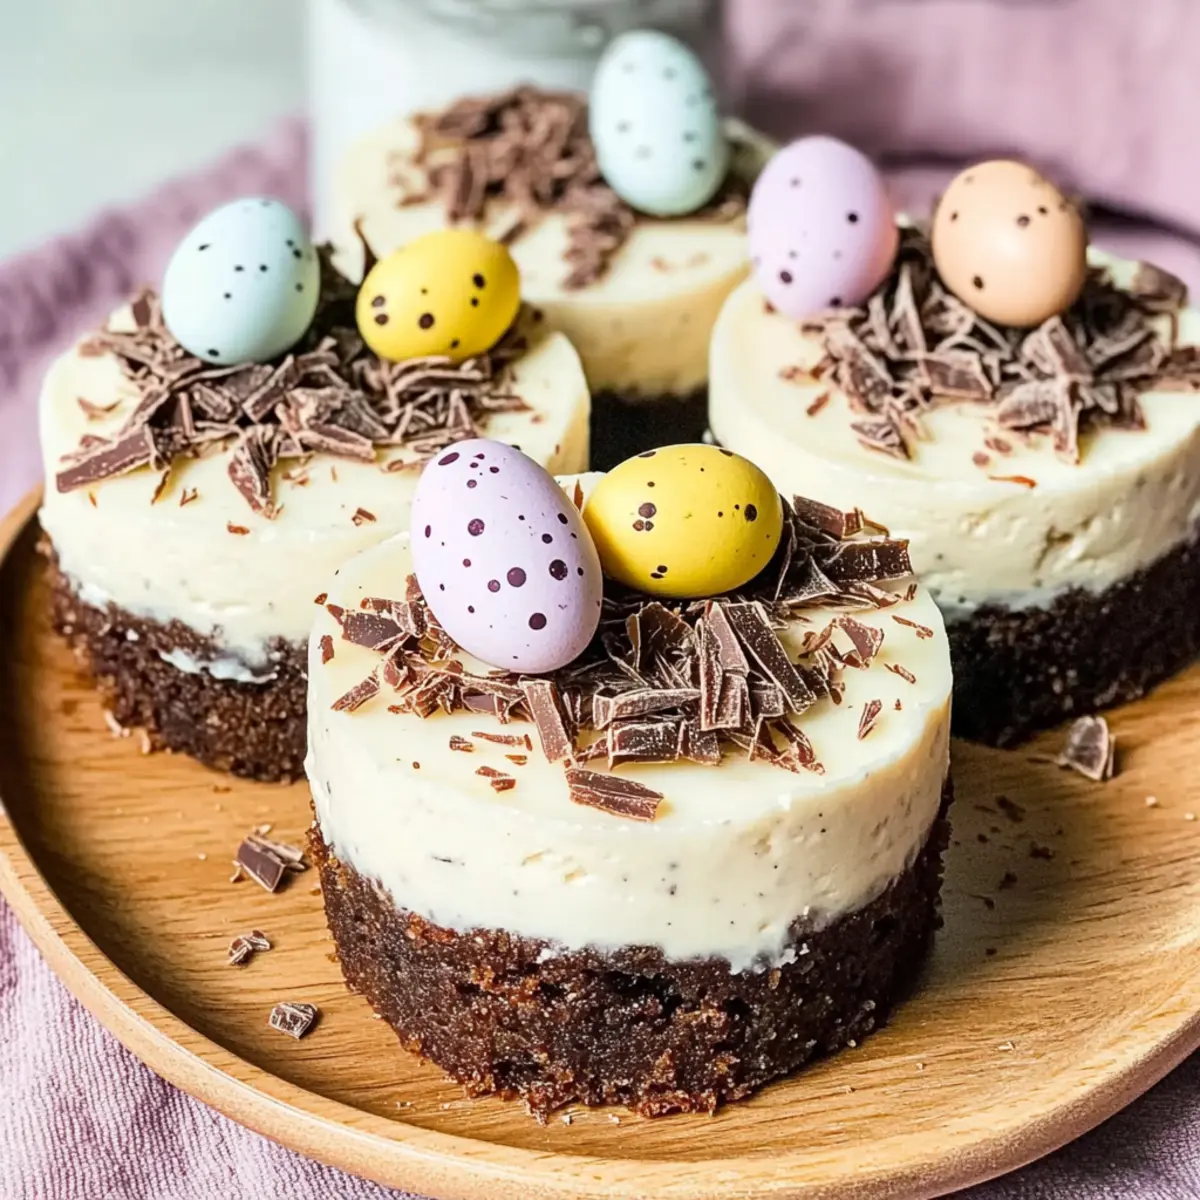
As I stood in the kitchen, the scent of vanilla filling the air, I couldn’t help but smile at the cheerful chaos around me. Easter is on the horizon, and what better way to celebrate than with these adorable no-bake Mini Easter Cheesecakes? Each little dessert boasts a creamy vanilla filling enriched with crunchy mini eggs, all resting on a delightful Oreo base that will have your guests coming back for seconds! The best part? These treats are incredibly simple to whip up, making them perfect for both seasoned home chefs and those looking to impress without the stress. Whether you’re hosting a gathering or simply treating your family, these cheesecakes are sure to brighten the day. Curious about how to make these delightful bites that are both a feast for the eyes and the palate? Let’s dive into the recipe!
Why are Mini Easter Cheesecakes a must-try?
Irresistible taste: The rich, creamy filling paired with crunchy mini eggs creates a delightful contrast that will make your taste buds dance with joy.
No-bake convenience: You can prepare these cheesecakes without the fuss of heating the oven, making it a breezy addition to your dessert roster.
Individual servings: Perfectly portioned, these mini treats eliminate the mess of slicing and ensure everyone gets their own delectable dessert!
Festive fun: The vibrant colors of the mini eggs add a playful twist, making these cheesecakes not only delicious but also visually appealing for your Easter celebrations.
Time-saving delight: Quick to assemble and easy to chill, they free up your afternoon for egg hunts or family gatherings—what’s not to love?
Ready to impress your guests? Don’t forget to check out our tips on Storage and Make-Ahead Tips to ensure every cheesecake shines bright at your table!
Mini Easter Cheesecakes Ingredients
For the Base
• Oreo biscuits – A crunchy foundation that brings rich chocolate flavor; feel free to swap them for any chocolate cookie of your choice.
• Unsalted butter – Helps bind the crushed biscuits together; for a dairy-free option, use coconut oil instead.
For the Filling
• Full-fat cream cheese – Creates that creamy, rich texture; you can substitute it with Neufchâtel cheese for a slightly lighter version.
• Icing (powdered) sugar – Sweetens the filling while ensuring a smooth consistency; granulated sugar works in a pinch, though it may alter the texture.
• Vanilla extract – Adds depth to the flavor profile; consider using almond extract for a lovely twist.
• Double (heavy) cream – Provides richness and a silky mouthfeel; if unavailable, whipping cream can be used as a substitute.
• Mini eggs – Crushed to incorporate festive crunch and sweetness; feel free to use alternative candies to match your preferences.
For Decoration
• Chocolate flakes – Mimic nests for an adorable touch; any chocolate shavings or chunks will work beautifully.
Now that you have all the Mini Easter Cheesecakes ingredients, you’re all set to create these delightful desserts that will surely enchant your guests!
Step‑by‑Step Instructions for Mini Easter Cheesecakes
Step 1: Prepare the Base
Begin by placing your Oreo biscuits into a food processor, blitzing them until they resemble fine crumbs. In a separate bowl, melt your unsalted butter until fully liquefied, then combine it with the crushed biscuits. Press this mixture firmly into the base of a loose-bottomed tin or muffin tray to create a solid crust. Chill the base in the fridge for at least 30 minutes to firm up, providing a crunchy foundation for your Mini Easter cheesecakes.
Step 2: Make the Filling
While the base chills, move on to the creamy filling. In a mixing bowl, beat your room temperature cream cheese until it’s smooth and fluffy. Gradually add icing sugar and vanilla extract, continuing to mix until well combined. Slowly incorporate the double cream, beating the mixture until it thickens to a spreadable consistency. Finally, gently fold in the crushed mini eggs for that delightful crunch, ensuring an even distribution throughout the mixture.
Step 3: Assemble Cheesecakes
Once the base is sufficiently chilled, carefully remove it from the tin. Evenly distribute the creamy filling over each chilled biscuit base, smoothing out the tops with a spatula for a polished finish. Pop the assembled cheesecakes back into the fridge and allow them to chill for at least 3-4 hours, or overnight if you prefer fully set Mini Easter cheesecakes. This step is crucial for achieving the perfect texture!
Step 4: Decorate
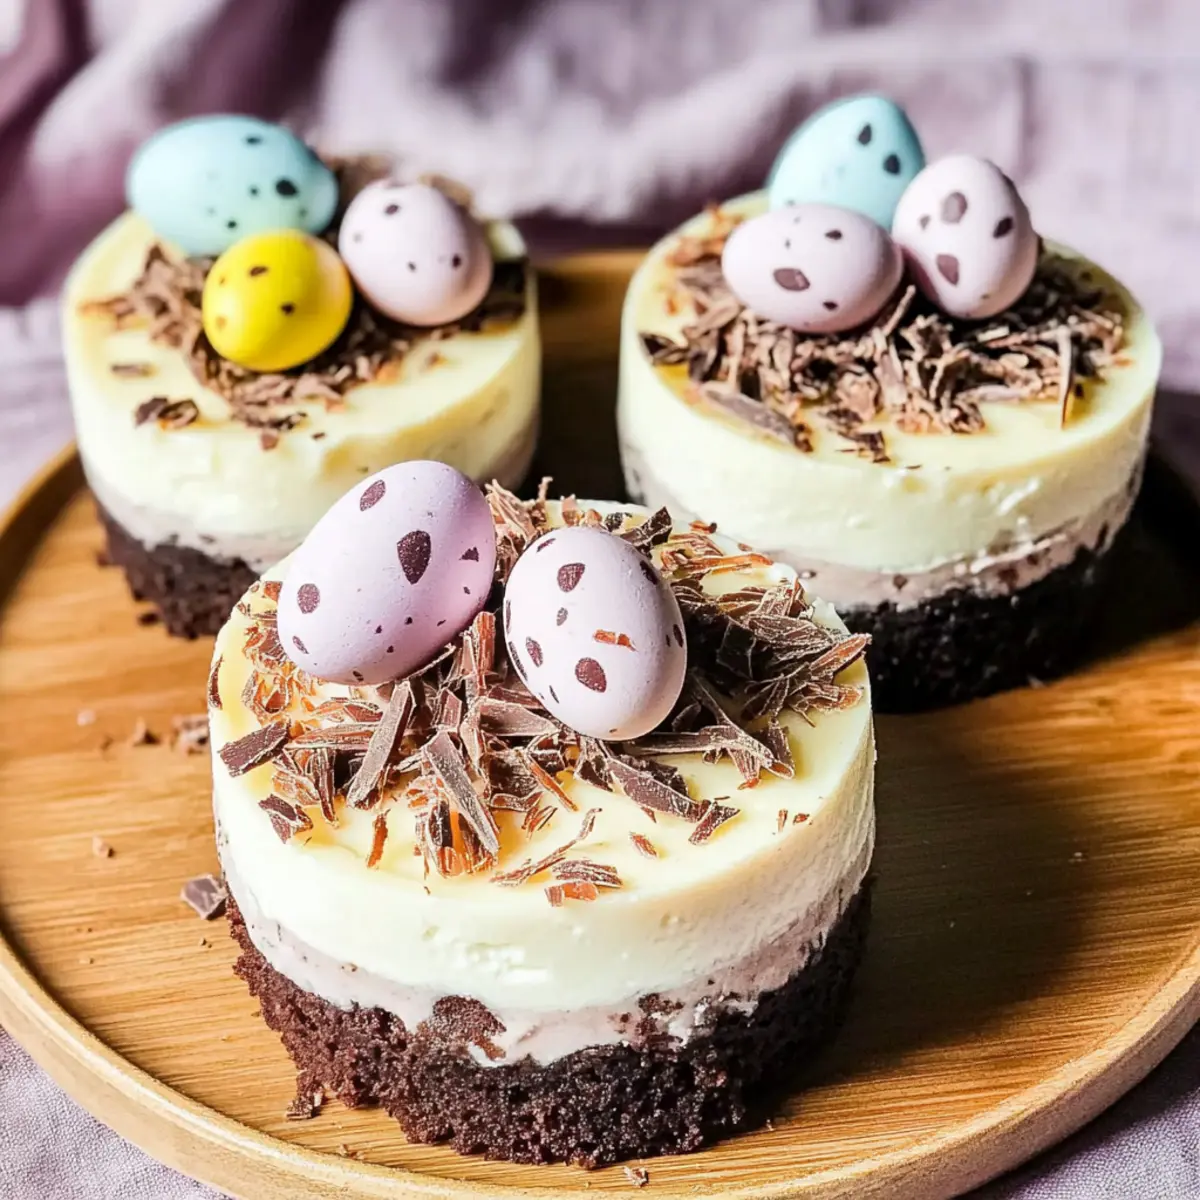
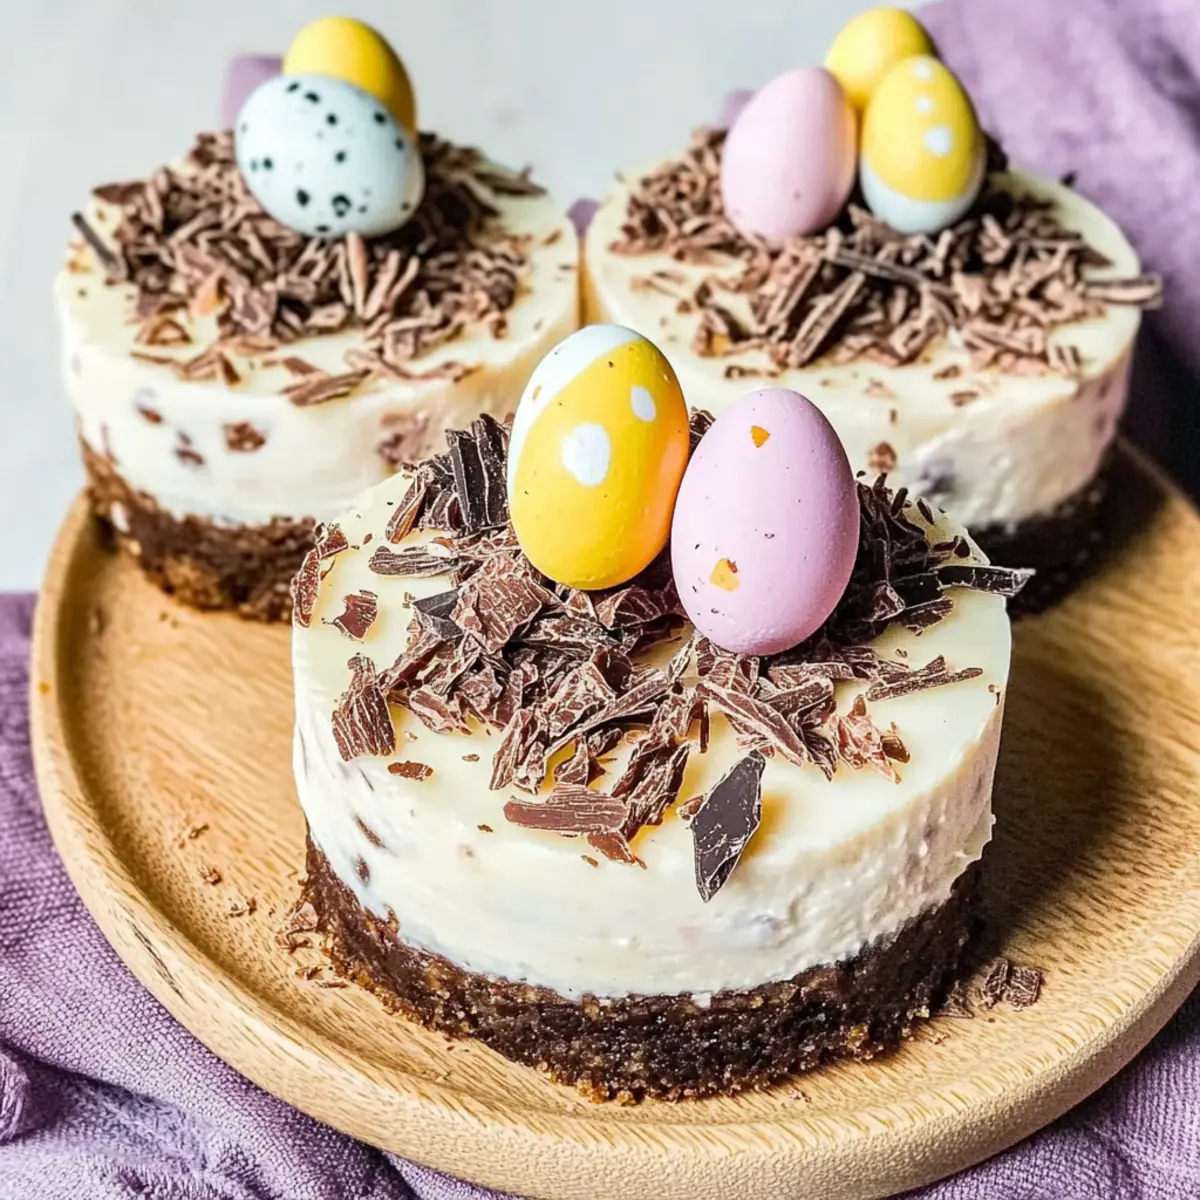
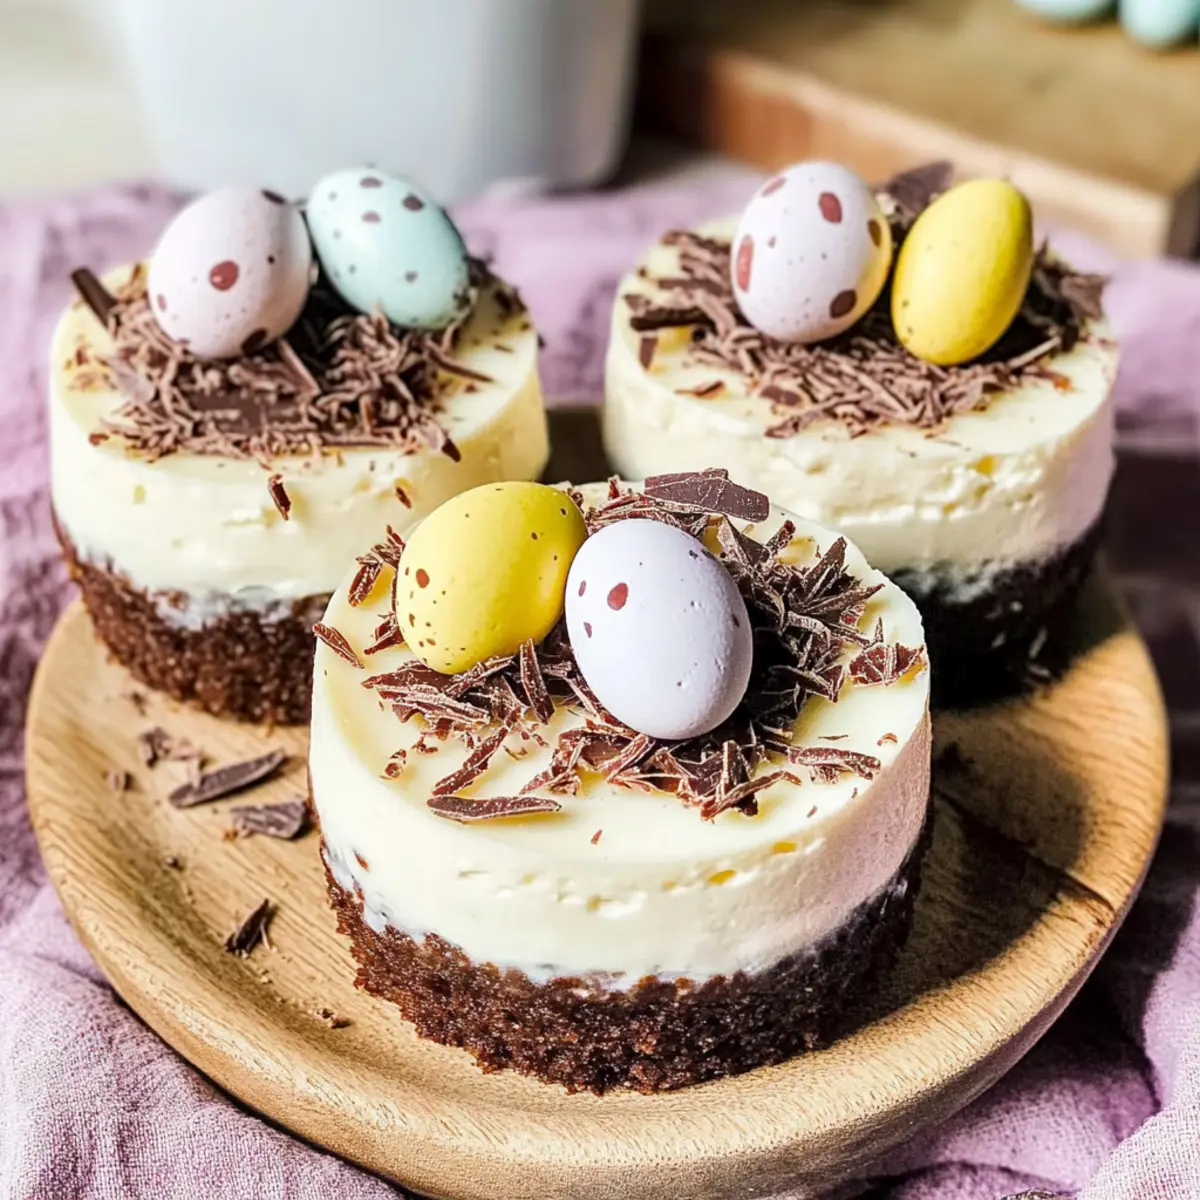
After chilling, it’s time to bring your Mini Easter cheesecakes to life! Carefully remove them from the tin, taking care not to break the bases. Create a whimsical chocolate nest on top of each cheesecake by delicately arranging chocolate flakes, and finish by placing three colorful mini eggs atop each nest. This charming decoration not only enhances their visual appeal but also adds a layer of festive fun!
Mini Easter Cheesecakes Variations
Ready to make these delightful treats your own? Let’s explore some tasty twists you can try!
- Dairy-Free: Substitute cream cheese with a dairy-free alternative, such as cashew cream, to cater to lactose intolerant friends!
- Sugar-Free: Use a sugar substitute like erythritol in place of icing sugar for a healthier, guilt-free dessert option.
- Fruit Fusion: Swap mini eggs for seasonal fruits like strawberries or raspberries to add a fresh, fruity burst.
- Chocolate Lovers: Enhance the chocolate flavor by adding cocoa powder to the filling for a richer experience. Your chocolate-loving guests will be thrilled!
- Nutty Crunch: Fold in crushed nuts, like walnuts or pecans, for added texture and flavor; this gives your cheesecakes an extra crunch!
- Citrus Zing: Add lemon or orange zest to the filling for a bright, refreshing twist. This will lighten up the dessert beautifully!
- Caramel Drizzle: Drizzle caramel sauce over the cheesecakes before serving for a decadent touch that will wow your guests.
- Spiced Up: Add a pinch of cinnamon or nutmeg to the crust for a warm and inviting flavor, perfect for festive gatherings.
Looking for more tips? Check out our recommendations on the Storage and Make-Ahead Tips to ensure your Mini Easter Cheesecakes taste as delightful as they look!
Expert Tips for Mini Easter Cheesecakes
-
Room Temperature Cream Cheese: Ensure the cream cheese is at room temperature before mixing. This helps achieve a smoother filling without lumps.
-
Chill the Base: Don’t skimp on chilling the Oreo base in the fridge. A well-chilled base is vital to keep the cheesecakes from crumbling when served.
-
Gentle Folding: When incorporating the crushed mini eggs into the filling, fold gently to avoid deflating the whipped cream, maintaining that airy texture.
-
Use Loose-Bottom Tin: Opt for a loose-bottom tin for easy removal of the cheesecakes. Muffin tins lined with cupcake liners also work well for individual servings.
-
Mind the Decorating: Add the decorative mini eggs just before serving. This prevents their colors from fading and keeps your Mini Easter cheesecakes looking vibrant and festive.
Make Ahead Options
These Mini Easter Cheesecakes are a fantastic choice for meal prep and can save you precious time on the day of your gathering! You can prepare the cheesecake base up to 24 hours in advance; simply press the crumbled Oreo mixture into your tin and store it in the fridge. Additionally, the creamy filling can be made a day ahead; store it in an airtight container to keep it fresh. When you’re ready to serve, just fill the chilled bases with your prepared mixture, smooth the tops, and allow them to chill for another 3-4 hours to set properly. This way, you’ll have delightful, creamy cheesecakes ready to wow your guests without the last-minute rush!
What to Serve with No-Bake Mini Egg Cheesecakes?
Treat your guests to a delightful feast by pairing these charming desserts with complementary dishes that enhance the festive spirit of Easter.
-
Fresh Berries: Serve a mix of strawberries, blueberries, and raspberries for a refreshing contrast to the creamy cheesecakes. Their natural sweetness and slight tartness elevate the dessert experience.
-
Chocolate Drizzle: A warm chocolate sauce drizzled over the cheesecakes adds an indulgent touch. It provides a luscious texture that pairs beautifully with the rich flavors of the filling.
-
Spring Salad: A light spinach and arugula salad adorned with citrus segments and a tangy vinaigrette offers a bright, refreshing counterpoint to the cheesecakes. The zestiness will awaken your taste buds!
-
Vanilla Ice Cream: A scoop of creamy vanilla ice cream alongside your cheesecakes creates the perfect balance of flavors. The coldness complements the richness of the cheesecakes beautifully.
-
Sparkling Lemonade: Serve a bubbly sparkling lemonade to energize your gathering. Its citrus notes and effervescence will cleanse the palate, making each bite of cheesecake even more delightful.
-
Miniature Fruit Tarts: Offer a platter of colorful miniature fruit tarts that echo the playful spirit of the cheesecakes. Their flaky crust and creamy filling are a lovely addition, providing varied textures and flavors to your dessert spread.
These ideas will elevate your Easter celebration, making the no-bake Mini Egg Cheesecakes the star of a charming and delicious meal!
How to Store and Freeze Mini Easter Cheesecakes
Fridge: Store the Mini Easter cheesecakes in an airtight container in the fridge for up to 3 days to maintain freshness and creaminess.
Make-Ahead: You can prepare the cheesecakes a day in advance, but wait to add the mini egg decoration until just before serving to keep them vibrant.
Freezer: For longer storage, these cheesecakes can be frozen without the toppings for up to 2 months. Wrap each cheesecake tightly in plastic wrap before placing them in an airtight container.
Reheating: Thaw in the fridge overnight before enjoying them chilled—this ensures they retain their delightful texture without compromising on flavor.
Mini Easter Cheesecakes Recipe FAQs
What type of Oreos should I use for the base?
You can use classic Oreos for that quintessential chocolatey flavor, but feel free to swap them with any chocolate cookie of your choice if you’re looking for a fun twist. Just keep the texture in mind!
How long can I store the Mini Easter cheesecakes in the fridge?
Absolutely! These Mini Easter Cheesecakes can be kept in an airtight container in the fridge for up to 3 days. This helps maintain their freshness and creamy texture, making it easy to enjoy them throughout the holiday weekend.
Can I make these cheesecakes ahead of time?
Very much so! You can prepare the cheesecakes a day in advance. Just be sure to add the decorative mini eggs right before serving to keep their colors vibrant and appealing. It’s a perfect way to save time on the day of your celebration!
How do I freeze Mini Easter cheesecakes?
Of course! To freeze, first remove the mini eggs or any toppings. Wrap each cheesecake tightly in plastic wrap or foil and place them in an airtight container. They can be frozen for up to 2 months. When you’re ready to enjoy, simply thaw them in the fridge overnight; this helps preserve the creamy texture and flavor.
What if my filling is too thick?
If you find that your cream cheese filling is too thick, don’t worry! You can gently fold in a tablespoon of milk or cream to loosen it up without compromising the texture. Just mix until you reach your desired consistency, and it’ll be perfectly ready for your cheesecakes!
Are these cheesecakes suitable for people with dairy allergies?
While this recipe contains dairy ingredients, you can adapt it for a dairy-free version! Using coconut cream instead of heavy cream and dairy-free cream cheese can yield delicious results. Always check the ingredients of your substitutes to ensure they meet your dietary needs.
Irresistible Mini Easter Cheesecakes You'll Adore
Ingredients
Equipment
Method
- Prepare the Base: Blitz Oreo biscuits in a food processor until fine crumbs. Melt unsalted butter and combine with crushed biscuits. Press into a loose-bottomed tin or muffin tray. Chill for at least 30 minutes.
- Make the Filling: Beat room temperature cream cheese until smooth. Gradually add icing sugar and vanilla, mixing well. Slowly incorporate double cream until thickened, then fold in crushed mini eggs.
- Assemble Cheesecakes: Remove chilled base from the tin. Distribute filling evenly over each base and smooth the tops. Return to fridge and chill for at least 3-4 hours, or overnight.
- Decorate: Carefully remove cheesecakes from the tin. Arrange chocolate flakes on top for nests and place mini eggs on each nest just before serving.
Leave a Reply