
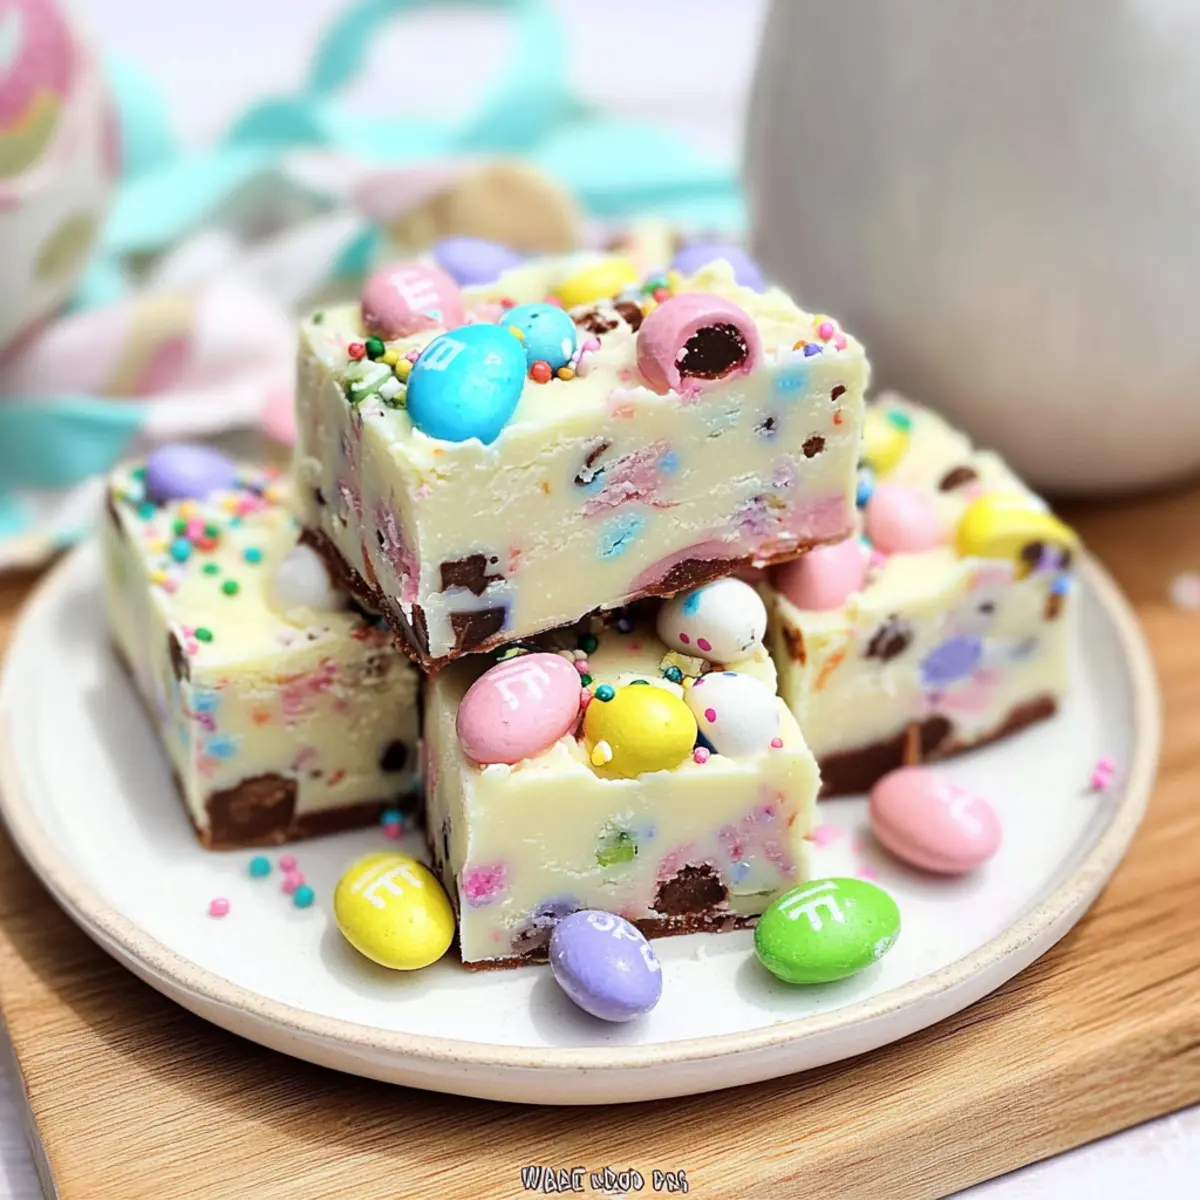
“Can you believe Easter is around the corner?” I overheard my neighbor exclaim as she whisked by, laden with bright baskets and cheerful decorations. Easter isn’t just about finding eggs; it’s the perfect opportunity to come together and indulge in delightful treats. That’s why I can’t wait to share my Easy No-Bake Easter Fudge recipe with you—a shining star in any spring celebration! With its rich white chocolate base, this no-bake wonder comes together effortlessly, making it an absolute crowd-pleaser. Not only is it quick to prepare, but it also offers a fun twist with colorful candy toppings that will surely bring smiles to faces young and old. Ready to brighten your holiday table with a sweet bite? Let’s hop into this simple recipe that’s sure to become a new favorite!
Why Is This Fudge a Must-Try?
Simplicity: With just a few pantry staples, this no-bake Easter fudge comes together in a snap—perfect for those who crave homemade treats without the hassle.
Festivity: Bursting with colorful candy toppings, it not only tastes delicious but also brings joyful spring vibes to your dessert table.
Crowd-Pleaser: Whether for an Easter gathering or a family movie night, its creamy texture and sweet crunch will win hearts young and old.
Versatile: Feel free to experiment—swap in your favorite candies or even add a hint of vanilla for an unexpected twist!
Make-Ahead: Prepare it in advance and store it effortlessly, making your Easter celebrations all the more enjoyable. Looking for something to go with it? Check out these delightful Strawberry Cheesecake Truffle balls for a perfect pairing!
No-Bake Easter Fudge Ingredients
For the Fudge Base
• White Chocolate Chips – Provides a creamy and sweet base for the fudge; feel free to swap with dark chocolate for a richer flavor.
• Sweetened Condensed Milk – Acts as a binder and adds necessary sweetness; it’s crucial for achieving that chewy texture.
• Butter – Adds richness and ensures smooth melting; substitute with coconut oil for a dairy-free option.
For the Toppings
• Easter M&M’s – Brings color and crunch, making it visually appealing; any chocolate candy can replace these for a fun twist.
• Easter Shimmery Whopper Eggs – Provides an excellent crunchy texture; malted milk balls can be used as an alternative.
• Easter Sprinkles – Enhances the festive look; any themed sprinkles work well, so get creative!
This easy No-Bake Easter Fudge is not only a treat to eat but also a delight to create!
Step‑by‑Step Instructions for Easy No-Bake Easter Fudge
Step 1: Prepare the Pan
Begin by lining an 8″x8″ square pan with parchment paper, allowing the paper to hang over the edges for easy removal later. This step is crucial for the no-bake Easter fudge, ensuring it comes out cleanly once set. Set the prepared pan aside while you move on to the next step.
Step 2: Melt the Mixture
In a medium saucepan, combine 2 cups of white chocolate chips, 1 can of sweetened condensed milk, and 2 tablespoons of butter over low to medium heat. Stir continuously for about 10 minutes, ensuring the mixture melts smoothly without boiling. Look for a creamy blend with no chocolate chunks remaining as you keep stirring.
Step 3: Fold in the Treats
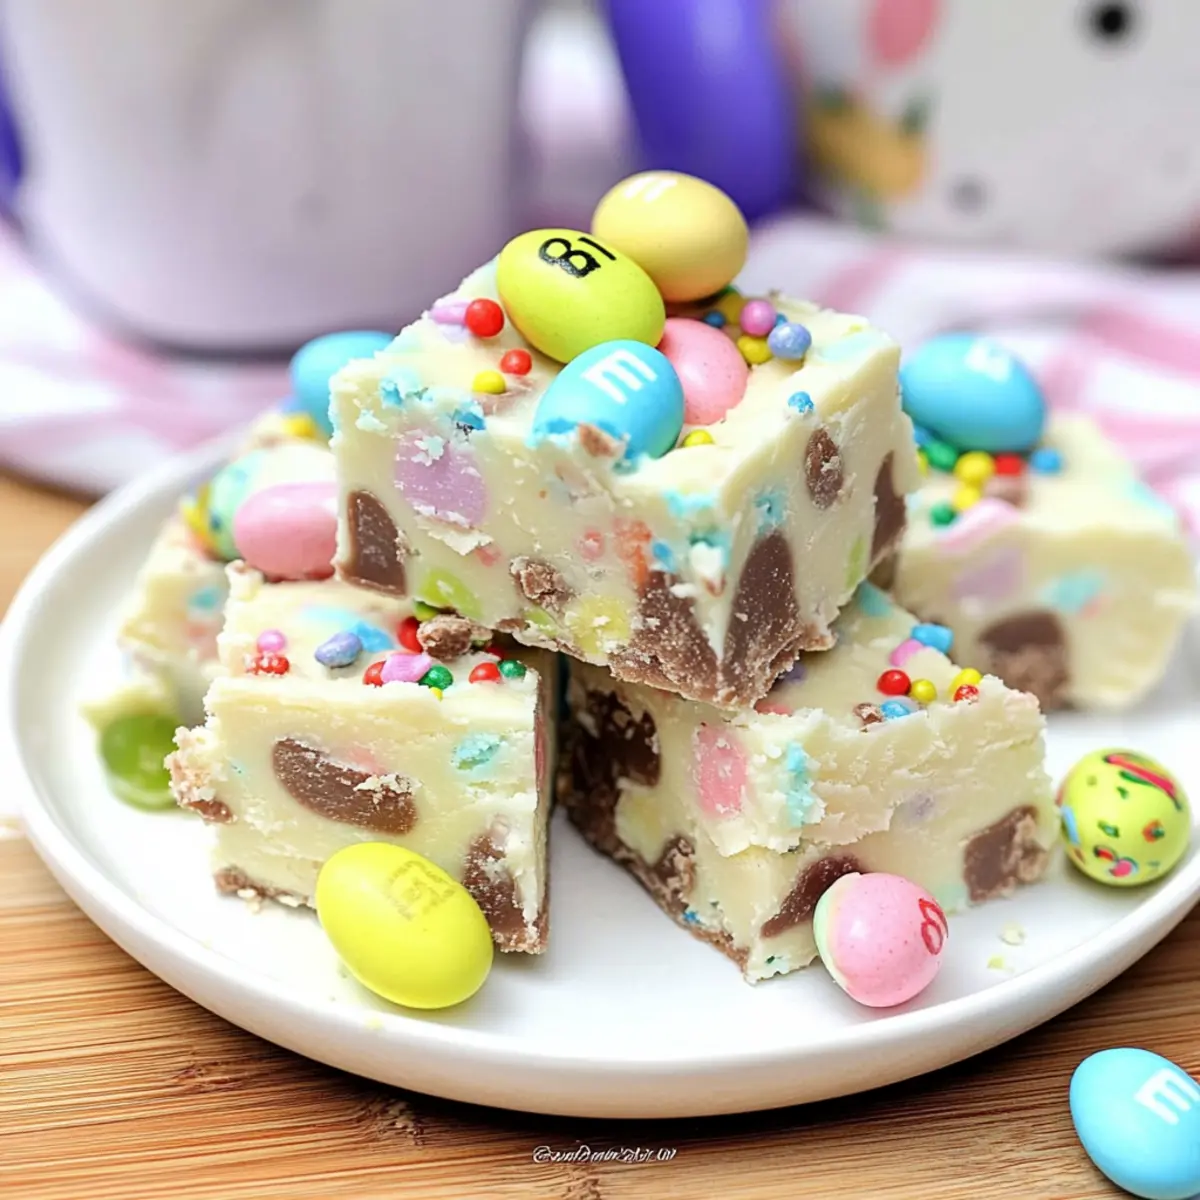
Once your fudge mixture is melted and silky, remove the saucepan from heat. Gently stir in 1 cup of Easter M&M’s, 1 cup of shimmery Whopper eggs, and a handful of colorful sprinkles. Continue mixing until all the ingredients are well combined, creating a joyful mix of colors and textures that make this no-bake Easter fudge irresistible.
Step 4: Spread the Fudge
Pour the fudge mixture into the prepared pan, using a spatula to spread it evenly across the bottom. Ensure the surface is smooth and level, showcasing the festive colors of the candy toppings. This step is crucial for even setting, so take your time to create a beautiful base for your fudge.
Step 5: Add the Toppings
Sprinkle the remaining Easter M&M’s, Whopper eggs, and extra sprinkles generously over the fudge mixture. Gently press them down with a fork to help them adhere better as the fudge sets. This will add delightful texture and festive flair to your no-bake Easter fudge.
Step 6: Let It Set
Leave the fudge to sit at room temperature overnight for it to harden properly. If you’re in a hurry, you can refrigerate it for about 2 hours instead. Once firm, the fudge should feel solid yet slightly soft to the touch, ready to be cut into delightful squares.
Step 7: Cut and Serve
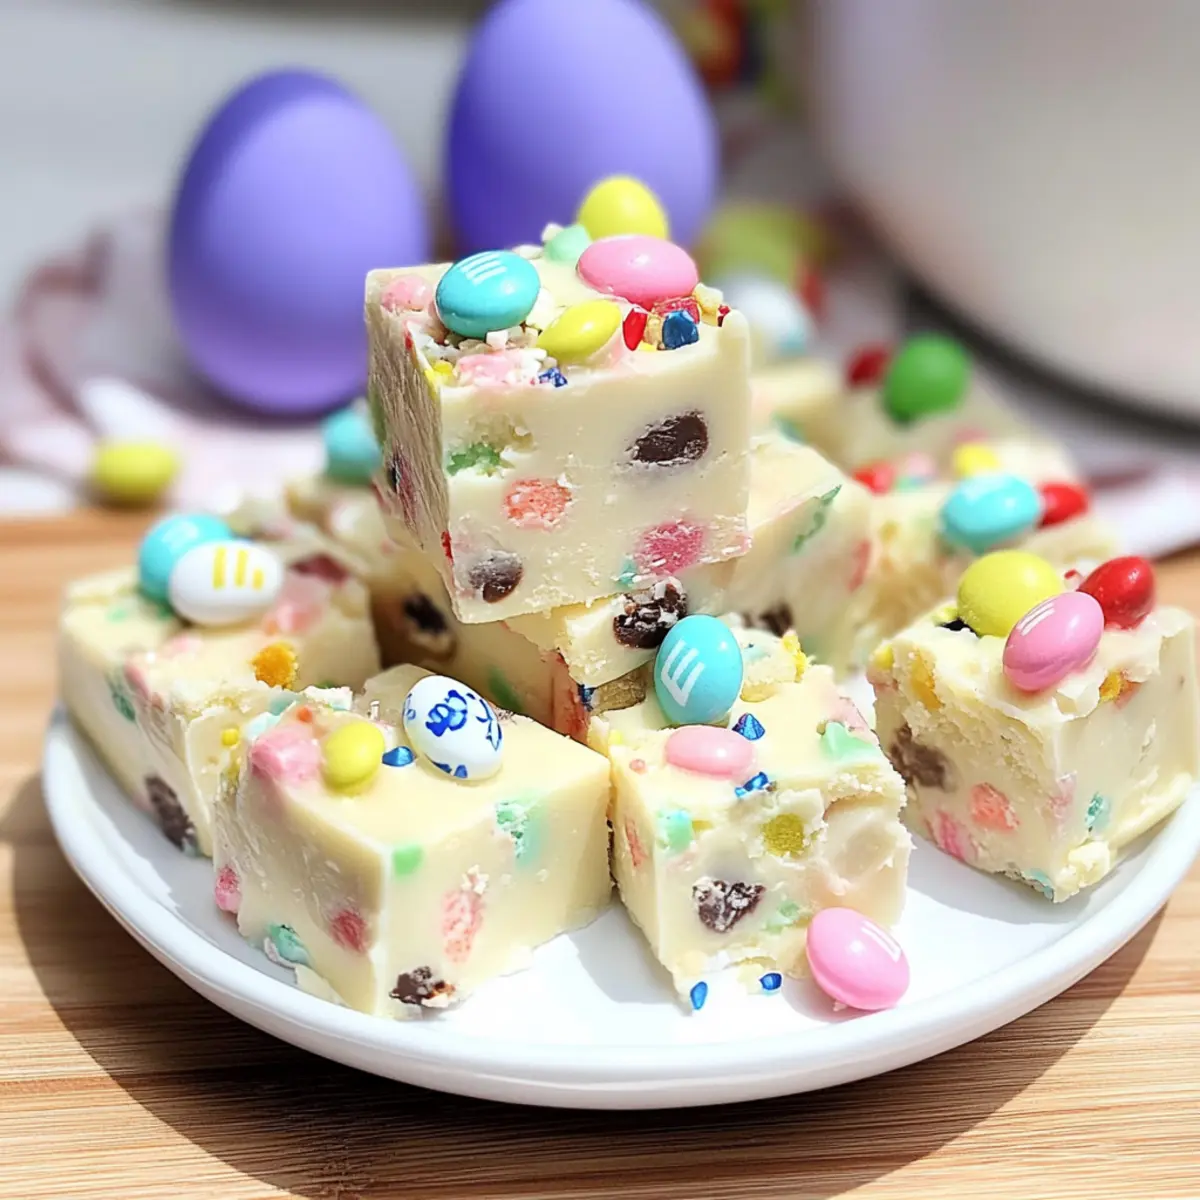
Once the fudge has set, lift it out of the pan using the overhanging parchment paper and place it on a cutting board. Using a sharp knife, cut the fudge into 1-inch squares for serving. Each piece should be colorful and enticing, perfect for sharing at any Easter gathering or sweet treat occasion.
How to Store and Freeze No-Bake Easter Fudge
Room Temperature: Keep your no-bake Easter fudge in an airtight container at room temperature for up to 1 week. This allows for easy access to a sweet treat whenever the craving strikes.
Fridge: For extended freshness, store the fudge in the refrigerator where it can last up to 2 weeks. Be sure to keep it in an airtight container to prevent it from absorbing any unwanted odors.
Freezer: If you’d like to preserve the fudge longer, freeze it in an airtight container or wrapped tightly in plastic wrap for up to 3 months. When ready to enjoy, thaw it in the fridge overnight.
Reheating: Although this fudge is best enjoyed chilled or at room temperature, if you prefer it slightly warm, you can microwave a square for 10-15 seconds. Just be careful not to overheat!
What to Serve with Easy No-Bake Easter Fudge
What could be better than sweet treats that complement each other perfectly on your holiday table?
-
Creamy Vanilla Ice Cream: The cool, velvety texture contrasts beautifully with the fudge, making each bite a delightful experience. Serve it alongside for a classic treat.
-
Fresh Strawberries: Juicy and slightly tart, these fruits provide a refreshing balance to the fudge’s sweetness, creating a vibrant spring flavor combination.
-
Mint Chocolate Brownies: The rich mint flavor in brownies enhances the chocolatey notes of the fudge, offering a delightful depth to your dessert platter.
-
Carrot Cake Bites: Emphasizing the Easter theme, these moist bites packed with spices and cream cheese frosting pair wonderfully for an explosion of flavors.
-
Chocolate-Covered Pretzels: With their unique blend of salty and sweet, they add a satisfying crunch to the soft, creamy fudge, making your dessert spread more interesting.
-
Sparkling Lemonade: This citrusy drink adds a refreshing zing, helping to cleanse the palate between sweet bites, making it the perfect pairing for richer desserts.
-
Mini Fruit Tarts: Beautifully topped with seasonal fruits, these tarts bring an elegant touch and a burst of freshness that brightens up the dessert table.
-
Malt Milkshakes: These rich shakes enhance the chocolate flavors of the fudge while providing a creamy drinking experience everyone will adore.
-
Easter Egg Cookies: The festive cookies can create a delightful theme alongside the fudge, with their crunch adding texture to your dessert assortment.
No-Bake Easter Fudge Variations
Feel free to get creative and customize your no-bake Easter fudge to suit your taste buds!
- Nutty Delight: Mix in chopped walnuts or pecans for a delightful crunch that complements the fudge’s creamy texture. Nuts add a satisfying bite, elevating the treat to a whole new level.
- Chocolate Lovers: Swap white chocolate chips for dark or milk chocolate chips for a richer, bolder flavor profile. This twist will satisfy any chocolate cravings and create a decadent dessert.
- Fruity Burst: Incorporate dried fruits like cranberries or cherries for a sweet-tart surprise that brightens each bite. The contrasting flavors will add a refreshing touch to your fudge.
- Bold Extracts: Enhance flavor by adding a splash of vanilla or almond extract to the fudge mixture before it melts. This subtle change can provide depth and sophistication to your Easter treat.
- Spicy Kick: A sprinkle of cayenne or chili powder can introduce an unexpected warmth to your fudge. Just a pinch will do—this daring choice adds excitement for those who enjoy a little heat!
- Peanut Butter Bliss: Swirl in creamy or crunchy peanut butter before pouring your fudge mixture into the pan for an extra layer of flavor that complements the sweetness beautifully. Think of that classic combination everyone loves!
- Gourmet Toppings: Elevate your topping game with toppings like crushed pretzels for salty-sweet goodness, or toasted coconut flakes for a tropical twist. Each adds texture, making your fudge irresistible.
And for a delightful pairing, consider adding a batch of these mouthwatering Strawberry Cheesecake Truffle balls to your dessert spread for an even sweeter celebration!
Make Ahead Options
These Easy No-Bake Easter Fudge squares are a fantastic option for meal prep enthusiasts, allowing you to save precious time during busy holiday celebrations! You can prepare the fudge mixture up to 24 hours in advance; simply follow the melting and mixing steps, then pour it into the prepared pan. Once set, cover it tightly with plastic wrap or aluminum foil to maintain its freshness and prevent any unwanted flavors from entering. When you’re ready to serve, just cut the fudge into squares and garnish with extra toppings before placing it out for guests. This way, you’ll have a delightful treat that’s just as delicious, all while keeping the prep stress-free!
Expert Tips for No-Bake Easter Fudge
-
Heat Control: Keep your heat on low to avoid burning the chocolate. Stir continuously to ensure a smooth and creamy fudge.
-
Melted Consistency: Be patient while melting the mixture; it should be silky and free of lumps. This is crucial for achieving that perfect no-bake Easter fudge texture.
-
Topping Pressing: Gently press down the toppings with a fork after sprinkling. This helps them adhere better and prevents them from falling off when slicing.
-
Cool Down Options: If you’re short on time, chill the fudge in the refrigerator for 2 hours instead of letting it sit overnight. This will speed up the setting process.
-
Cutting Technique: For clean cuts, use a sharp knife dipped in warm water. This will prevent the fudge from sticking to the knife, resulting in beautiful squares.
-
Flavor Variations: Don’t hesitate to mix in your favorite nuts or flavored extracts for added depth. Experimenting can give your no-bake Easter fudge a unique twist!
Easy No-Bake Easter Fudge Recipe FAQs
What is the best way to select white chocolate chips for the fudge?
Absolutely! When choosing white chocolate chips, look for high-quality brands that have cocoa butter listed as one of the first ingredients. Avoid chips that contain vegetable oils, as they may not melt smoothly. For a richer flavor, you can also opt for semi-sweet or dark chocolate chips as a substitute if you want a deeper taste in your fudge.
How should I store my no-bake Easter fudge?
To keep your no-bake Easter fudge fresh, store it in an airtight container at room temperature for up to 1 week. If you’d like it to last longer, refrigerate it where it can stay fresh for up to 2 weeks. Make sure it’s well-wrapped to avoid absorbing any fridge odors!
Can I freeze the no-bake Easter fudge?
Absolutely! To freeze your no-bake Easter fudge, first, cut it into squares. Then, place the pieces in an airtight container or wrap them tightly in plastic wrap. It can last in the freezer for up to 3 months. When you’re ready to enjoy some, simply thaw it in the fridge overnight. Enjoy the ease of having a sweet treat ready on hand!
What should I do if my fudge isn’t setting properly?
If your fudge isn’t setting, don’t worry! This can sometimes happen if the mixture wasn’t heated enough or was stirred too vigorously. If you’re in a pinch, you can refrigerate it for 1-2 hours to help it firm up. If that doesn’t work, consider melting the fudge down again gently and adding a bit more sweetened condensed milk to help it bind better when re-setting.
Are there any allergens I should be aware of in this recipe?
Very! This no-bake Easter fudge contains common allergens such as dairy (from the butter and white chocolate) and may contain gluten if you use sprinkles or candies that aren’t certified gluten-free. Always check labels for any specific dietary considerations, particularly if serving guests with allergies. You can also customize the recipe by using dairy-free chocolate and coconut oil for a delicious alternative!
Delicious No-Bake Easter Fudge That's a Sweet Family Treat
Ingredients
Equipment
Method
- Line an 8"x8" square pan with parchment paper, allowing the paper to hang over the edges for easy removal later.
- Combine white chocolate chips, sweetened condensed milk, and butter in a medium saucepan over low to medium heat. Stir continuously for about 10 minutes until the mixture melts smoothly.
- Gently stir in Easter M&M's, shimmery Whopper eggs, and sprinkles until well combined.
- Pour the mixture into the prepared pan and spread it evenly. Smooth the surface.
- Sprinkle the remaining Easter M&M's, Whopper eggs, and extra sprinkles over the fudge mixture and gently press down with a fork.
- Leave the fudge to sit at room temperature overnight or refrigerate for about 2 hours until firm.
- Lift the fudge out using the parchment paper and cut into 1-inch squares for serving.
Leave a Reply