
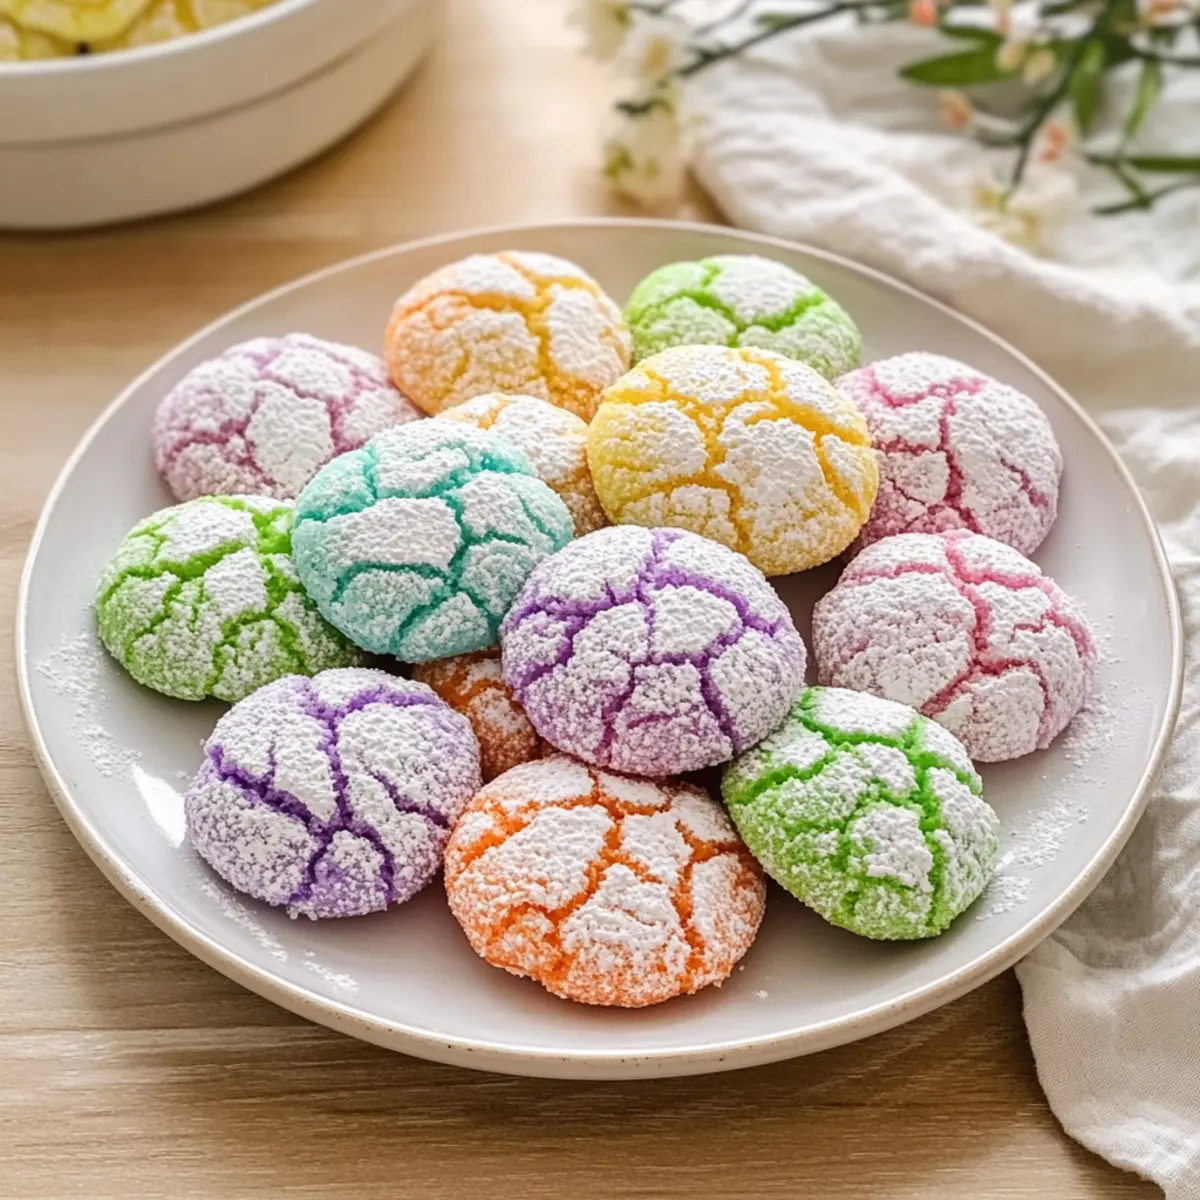
As I pulled my first batch of Springtime Crinkle Cookies from the oven, the enchanting aroma enveloped the kitchen. These cookies are not just delightful to look at with their pastel hues; they’re equally pleasing to the palate, offering a chewy texture that begs to be savored. Who would have thought that such a simple recipe could transform snack time into a celebration of spring? These bright, sugar-coated treats are quick to make, making them an ideal choice for unexpected guests or last-minute gatherings. Plus, they’re freezer-friendly, so you can always have a stash ready to impress. Whether it’s a sunny brunch or a cozy afternoon, these Springtime Crinkle Cookies are sure to bring joy to any occasion. Are you ready to turn your kitchen into a spring wonderland with these colorful delights?
Why Are Springtime Crinkle Cookies So Enjoyable?
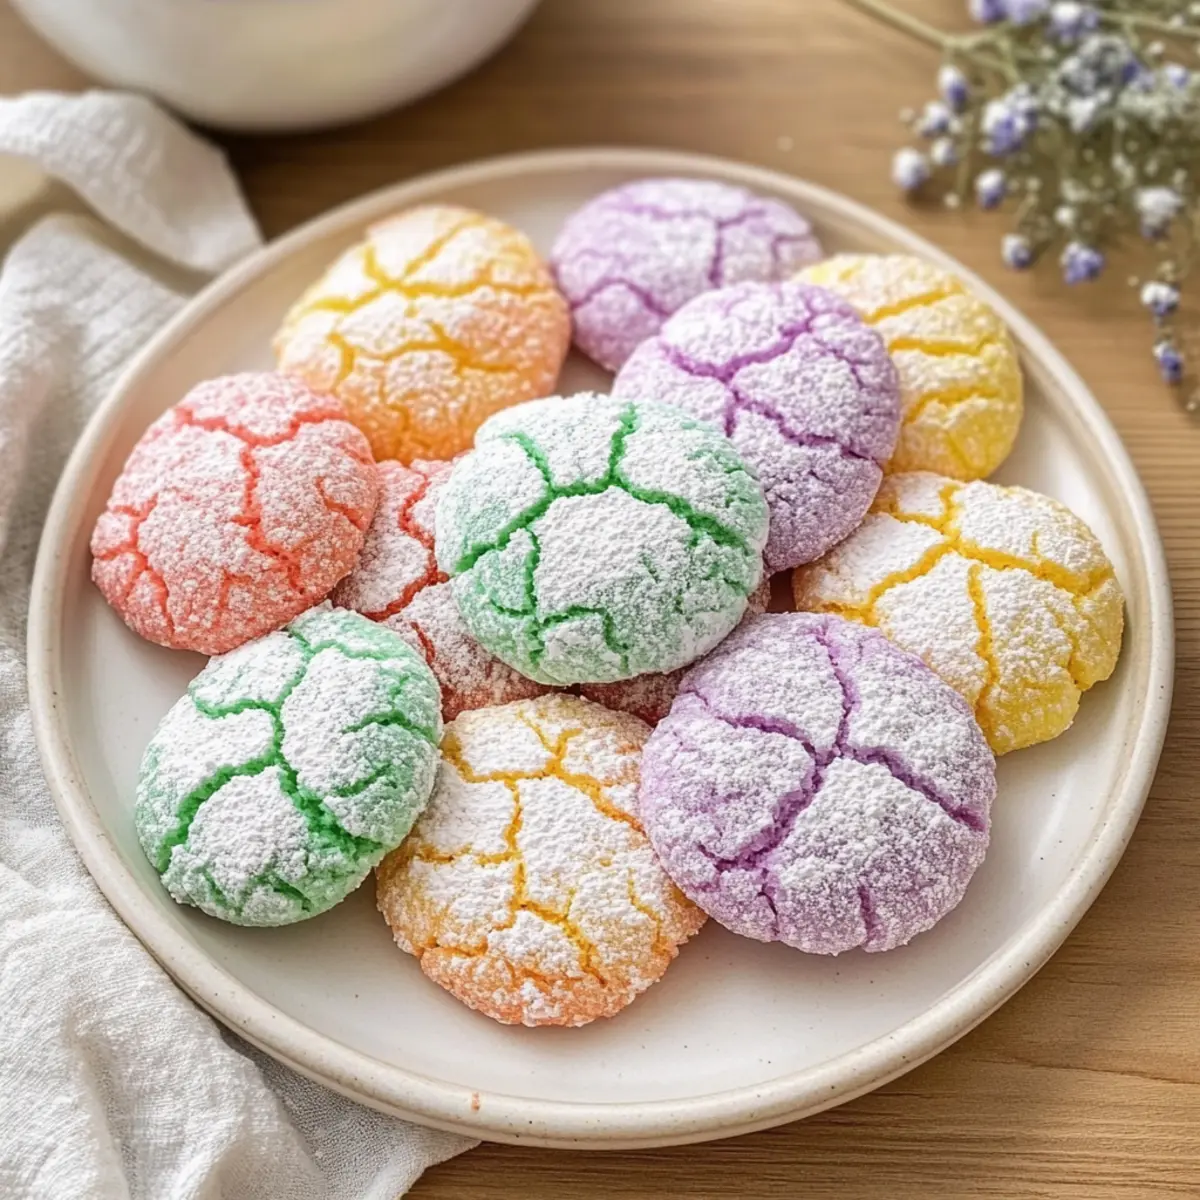
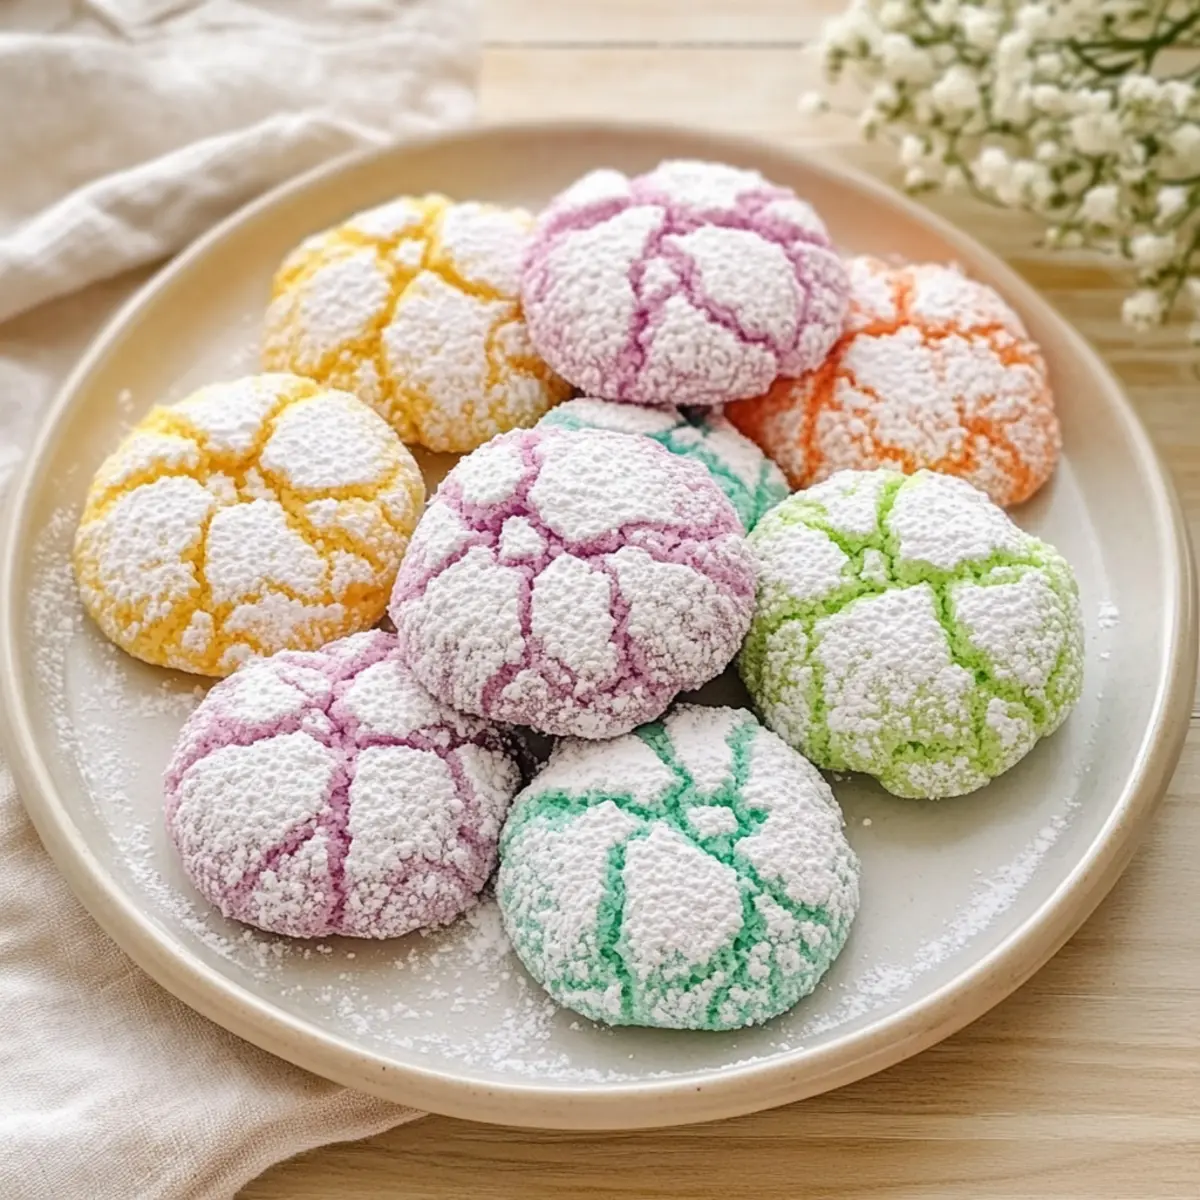
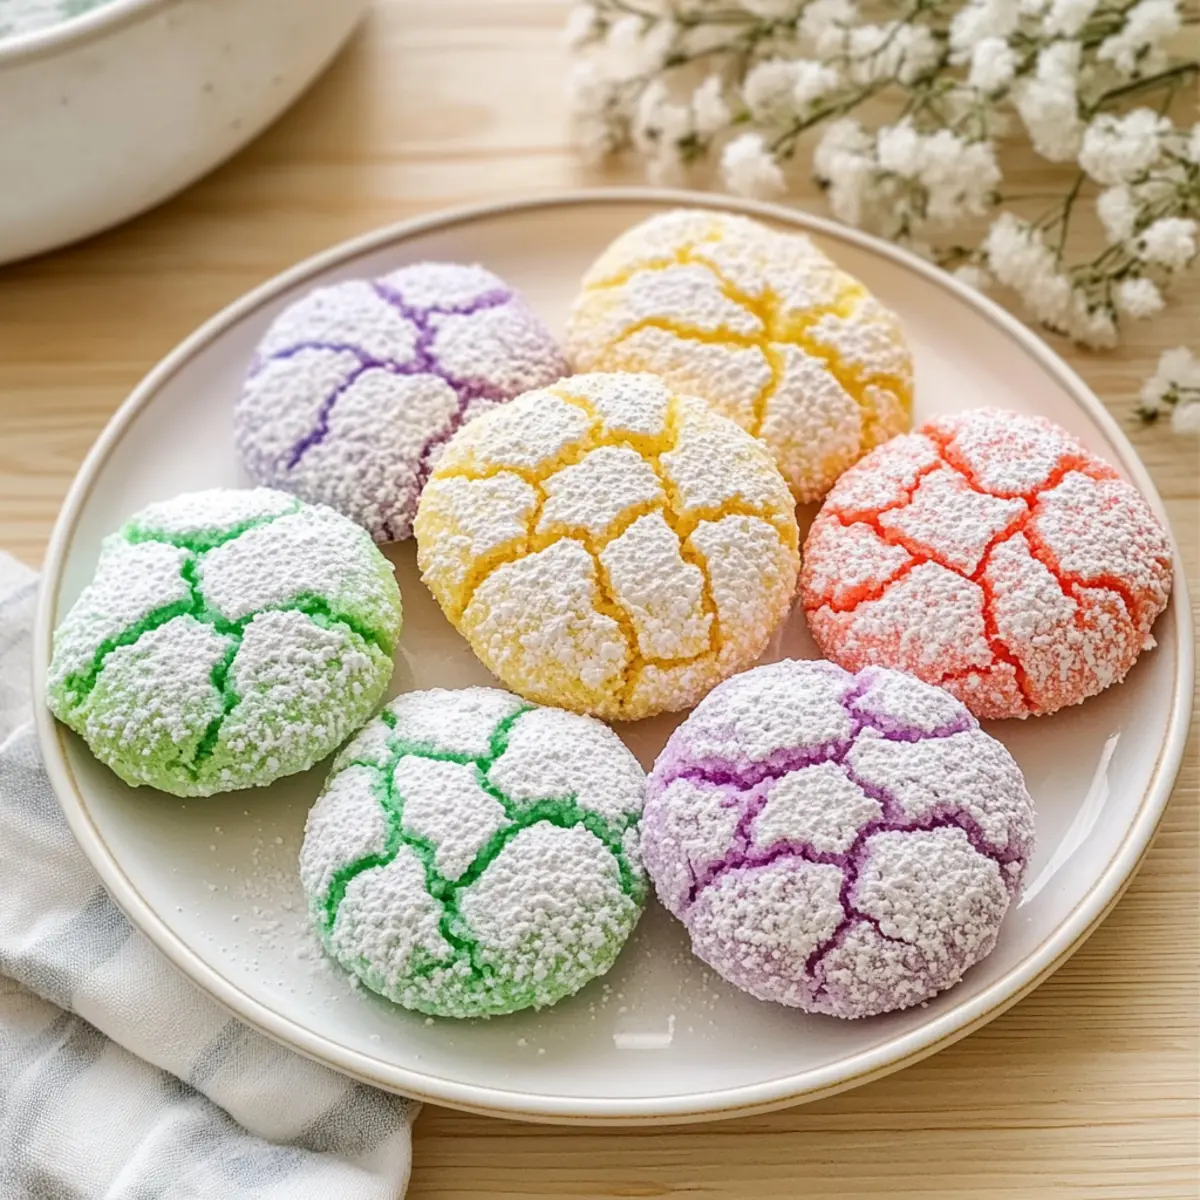
Bright, Colorful Appeal: These cookies are visually stunning with their pastel colors, making them a celebration on your plate.
Chewy Perfection: With a delightful chewy center and crisp edges, each bite offers a satisfying texture that keeps you coming back for more.
Quick and Easy: The straightforward recipe requires minimal steps, making baking a breeze—even for novice chefs!
Versatile Treat: Perfect for Easter, baby showers, or simply as a sweet afternoon pick-me-up, these cookies fit any occasion. Consider pairing them with a refreshing glass of milk or on a spring-themed dessert platter for even more wow factor.
Make-Ahead Magic: With the option to chill the dough for up to 24 hours, you can prep in advance and enjoy fresh cookies whenever the craving strikes.
These Springtime Crinkle Cookies might just become your new go-to treat!
Springtime Crinkle Cookies Ingredients
For the Cookie Dough
• All-Purpose Flour – Provides structure; substitute with a gluten-free flour blend for a gluten-free option.
• Baking Powder – Adds lift; ensure it’s fresh for optimal leavening.
• Salt – Enhances the sweetness; use kosher salt for a slightly different texture.
• Unsalted Butter – Adds richness and moisture; substitute with coconut oil for a dairy-free option.
• Granulated Sugar – Sweetens the cookies and contributes to their crispy texture.
• Large Eggs – Binds the ingredients together for moisture and fluffiness.
• Vanilla Extract – Infuses a comforting aroma and flavor; use pure vanilla for the best results.
• Almond Extract (Optional) – Adds a nutty note; omit for nut-free cookies.
For the Coating
• Powdered Sugar – Coats the cookies for that signature crinkle look.
• Gel Food Coloring – Provides vibrant pastel colors without thinning the dough; use gel over liquid for the best results.
Step‑by‑Step Instructions for Springtime Crinkle Cookies
Step 1: Preheat the Oven
Begin by preheating your oven to 350°F (175°C). While your oven warms up, line a baking sheet with parchment paper to prevent the cookies from sticking. This setup will provide an easy, non-stick surface for your delightful Springtime Crinkle Cookies. Get ready for the irresistible aroma that will soon fill your kitchen!
Step 2: Whisk the Dry Ingredients
In a medium bowl, whisk together 2 cups of all-purpose flour, 2 teaspoons of baking powder, and a pinch of salt. This combination of dry ingredients will ensure that your cookies have the perfect structure and lift. Once thoroughly mixed, set this aside as we focus on creaming the butter and sugar in the next step.
Step 3: Cream the Butter and Sugar
In a large mixing bowl, beat together ½ cup of softened unsalted butter and 1 cup of granulated sugar until the mixture is light and fluffy, which should take about 3-4 minutes with a hand mixer. The butter should lighten in color as it incorporates air, creating a creamy base for your Springtime Crinkle Cookies.
Step 4: Add Eggs and Flavorings
Next, add in 2 large eggs, one at a time, mixing well after each addition until fully incorporated. Following this, stir in 2 teaspoons of vanilla extract and, if desired, ½ teaspoon of almond extract. These ingredients will bring a wonderful depth of flavor, enhancing the sweetness of your pastel cookies.
Step 5: Combine Wet and Dry Ingredients
Gradually mix the dry ingredient mixture into your wet ingredients, stirring until a thick dough forms. This step is crucial for bringing your Springtime Crinkle Cookies together, so take your time to ensure everything is evenly combined. The dough should be smooth and slightly sticky, ready for coloring in the upcoming step.
Step 6: Tint the Dough
Divide the cookie dough into several portions, depending on how many colors you wish to use. Add a few drops of gel food coloring to each portion, kneading until the color is evenly distributed. The vibrant hues will make your Springtime Crinkle Cookies visually appealing and festive, perfect for your springtime gatherings.
Step 7: Chill the Dough
Once colored, wrap each portion of dough in plastic wrap or cover it tightly in a bowl. Chill the dough in the refrigerator for at least 30 minutes; this step is vital for achieving the desired texture and crinkle effect. The chill time will help the dough firm up, making it easier to handle.
Step 8: Shape and Coat
After the chilling period, preheat your oven if you haven’t already. Roll tablespoon-sized portions of the chilled dough into balls and then roll them in powdered sugar until completely coated. Space these cookie balls about 2 inches apart on the prepared baking sheet to allow for spreading during baking.
Step 9: Bake the Cookies
Bake the cookies in your preheated oven for 10 to 12 minutes, until the tops crack but the centers remain soft. Watch for the edges of your Springtime Crinkle Cookies to set while the middle stays slightly underbaked for that chewy texture.
Step 10: Cool and Serve
After baking, allow the cookies to cool on the baking sheet for 3-5 minutes. This brief cooling time will help them firm up before transferring to a wire rack to cool completely. Once cool, the signature crinkle and powdered sugar coat will be visually delightful and ready to enjoy!
Springtime Crinkle Cookies Variations
Feel free to unleash your creativity and customize these delightful cookies to suit your tastes!
-
Gluten-Free: Substitute all-purpose flour with a gluten-free flour blend to make these cookies accessible for everyone. They’ll be just as chewy and delicious!
-
Dairy-Free: Replace unsalted butter with coconut oil or vegan butter for a delectable dairy-free option that retains all the richness and flavor.
-
Flavor Boost: Swap the almond extract for hazelnut or coconut extract to add a unique twist. Each variant brings a new yet familiar comforting taste that surprises and delights.
-
Festive Sprinkles: Mix in colorful sprinkles or edible glitter into the dough before chilling. This not only adds texture but also amplifies the visual charm of your cookies!
-
Zesty Kick: Incorporate a teaspoon of lemon or orange zest into the dough for a bright citrus flavor that beautifully complements the sweetness.
-
Chocolate Drizzle: Drizzle melted chocolate over the cooled cookies for an extra layer of indulgence. This rich touch makes each cookie feel like a special treat.
-
Nutty Crunch: Add finely chopped nuts like walnuts or pecans for an appealing crunch alongside that scrumptious chewiness. This variation adds a lovely contrast in texture.
-
Chocolate Variation: For a chocolatey twist, substitute 1/4 cup of flour with cocoa powder. These cookies become a delightful fusion of flavors that chocolate lovers will adore.
Don’t forget to check out these other delightful cookies like Crushed Oreo Cookies and Strawberry Shortcake Cookies for more delicious inspirations!
Make Ahead Options
These Springtime Crinkle Cookies are a meal prep dream come true! You can prepare the dough up to 24 hours in advance by chilling it in the refrigerator, wrapped tightly in plastic wrap or stored in an airtight container. This not only saves time on busy baking days but also enhances the flavors as the dough rests. If you like, you can roll the dough balls in powdered sugar ahead of time too; just make sure to store them in a single layer to maintain their shape. When you’re ready to bake, simply preheat your oven and bake the cookies straight from the fridge, enjoying the delightful treat without compromising on freshness and quality!
How to Store and Freeze Springtime Crinkle Cookies
Room Temperature: Store cookies in an airtight container at room temperature for up to 5 days. This keeps them soft and delicious for your snack cravings.
Fridge: If you prefer your cookies chilled, you can store them in the fridge for up to a week. Just remember to seal them tightly to retain moisture.
Freezer: For long-term storage, freeze your Springtime Crinkle Cookies in an airtight container or freezer bag for up to 3 months. They’ll be ready to delight when thawed.
Reheating: To enjoy warm cookies again, simply reheat them in the microwave for about 10-15 seconds or pop them back in the oven at 350°F (175°C) for a few minutes. Enjoy the fresh-baked taste!
Helpful Tricks for Springtime Crinkle Cookies
Chill the Dough: Ensure you chill the dough for at least 30 minutes to achieve the perfect texture and prevent spreading while baking.
Use Gel Coloring: Opt for gel food coloring to maintain the dough’s consistency and achieve vibrant pastel colors that pop.
Avoid Overbaking: Keep an eye on your cookies; they should crack on top but remain soft in the center for that scrumptious chewy texture.
Dust with Sugar: Lightly dust your hands with powdered sugar while rolling the dough into balls. This prevents sticking and keeps your hands clean!
Fresh Ingredients: Always check the freshness of your baking powder and flour. Fresh ingredients contribute significantly to achieving the best Springtime Crinkle Cookies.
What to Serve with Springtime Crinkle Cookies?
These vibrant, chewy cookies are perfect for sharing, and pairing them with delightful accompaniments transforms your treat into a festive feast.
-
Cold Glass of Milk: The classic pairing enhances the cookie’s sweetness, creating a comforting experience that takes everyone back to childhood.
-
Fresh Berries: Juicy strawberries or blueberries add a refreshing contrast, balancing the sweetness while introducing a tart flavor to every bite.
-
Lemonade: A cool, zesty lemonade cuts through the cookie’s richness, providing a bright, sunny drink that’s perfect for spring gatherings.
-
Vanilla Ice Cream: Spoon some of this creamy treat alongside your cookies, allowing them to melt slightly, creating a decadent dessert that delights the senses.
-
Cheese Platter: Soft, creamy cheeses offer a savory note that pairs beautifully with the sweetness of the cookies, making for an unexpected yet delightful combo.
-
Fruit Tart: A slice of fruit tart can elevate your cookie experience to a more sophisticated level, showcasing seasonal fruits that complement the cookies’ cheerful colors.
-
Chocolate Milkshake: This indulgent drink means you can never go wrong; the richness of the milkshake plays well with the buttery flavors of the cookies, creating an ultimate treat.
-
Spring Salad: A light, greens-based salad with nuts and berries offers a refreshing break from sweetness, providing crunch and a touch of earthiness to your spread.
-
Coffee or Tea: A warm cup of your favorite brew pairs excellently with the cookies, enhancing their buttery flavors while providing a cozy touch.
Springtime Crinkle Cookies Recipe FAQs
How do I choose the right ingredients for Springtime Crinkle Cookies?
Absolutely! When selecting your ingredients, always opt for fresh items, especially the baking powder, as it ensures the cookies rise perfectly. For flour, all-purpose is traditional, but a gluten-free blend works well if you need an alternative. Use unsalted butter for a richer flavor and avoid anything with dark spots or an off smell.
How should I store my Springtime Crinkle Cookies?
Very good question! Store your cookies in an airtight container at room temperature for up to 5 days. If you want them to last longer, freezing is a great option! Just ensure they’re in an airtight bag or container, and they can stay fresh for up to 3 months.
Can I freeze the dough for later use?
Yes! You can absolutely freeze the dough. After coloring and chilling, wrap it tightly in plastic wrap, then place it in an airtight container. The dough can be kept in the freezer for up to 3 months. When you’re ready to bake, just thaw it in the refrigerator overnight and proceed with coating and baking as usual for fresh, delightful cookies.
What if my cookies spread too much during baking?
If your Springtime Crinkle Cookies spread a lot, don’t worry—this can happen! Ensure you chill the dough adequately for at least 30 minutes, as this firms it up. Also, make sure your baking powder is fresh; old baking powder can affect how the cookies rise and spread.
Are there any dietary considerations with these cookies?
Definitely! If you have nut allergies, simply omit the almond extract; your cookies will still be delicious with just vanilla. For a dairy-free option, replace the unsalted butter with coconut oil. Always consider checking specific ingredients to suit personal dietary restrictions, but these cookies can be tailored to fit a variety of needs.
Can I prepare the dough in advance?
Absolutely! The dough can be refrigerated for up to 24 hours before baking. Just wrap it tightly in plastic wrap. This make-ahead tip is excellent for spontaneous gatherings or if you want to enjoy freshly baked cookies at a later time without the prep work on the same day!
Springtime Crinkle Cookies: Sweet, Chewy Delights of Joy
Ingredients
Equipment
Method
- Preheat your oven to 350°F (175°C). Line a baking sheet with parchment paper.
- Whisk together the flour, baking powder, and salt in a medium bowl. Set aside.
- In a large bowl, cream the softened butter and granulated sugar until light and fluffy, about 3-4 minutes.
- Add in eggs one at a time, mixing well after each addition. Stir in vanilla and almond extracts.
- Gradually mix the dry ingredients into the wet ingredients until a thick dough forms.
- Divide dough into portions and knead in gel food coloring until evenly distributed.
- Wrap dough portions and chill in the refrigerator for at least 30 minutes.
- Roll dough into balls and coat each in powdered sugar. Place on baking sheet 2 inches apart.
- Bake for 10 to 12 minutes until tops crack but centers remain soft.
- Cool on baking sheet for 3-5 minutes before transferring to a wire rack to cool completely.
Leave a Reply